Introduction
Lenses 3.1 is finally here with lots of improvements including a better and faster way to send alerts to alert management solutions through different Channels. In this blog post you are going to see how to setup Lenses 3.1 to send alerts to Prometheus Alertmanager.
To play this video, accept functional cookies in your privacy settings.
Vimeo video
Pre-requisites
In order to be able to follow the steps of this blog, you will need the following:
- Lenses 3.1 (or a newer version when available) up and running. You can use our free Box instance if necessary.
- Prometheus Alertmanager up and running
- A working network connection between these two machines
The Implementation
The process requires performing the following three steps:
- Creating a Connection
- Creating a Channel
- Associating that channel to one or more existing alerts
Creating a Connection
This step is about pointing Lenses to the desired Alertmanager instance using a connection template. First, you should go to the ADMIN
Connections
New Connection
The next screenshot shows the available templates at the time of writing this.

Click on PrometheusAlertmanager

Note that in this case the hostname of the machine that runs Alertmanager is alertmanager
Now that you have given the required information, press on the Save Connection
Connections
ADMIN
Creating a Channel
You should now go to the ADMIN
Channels
New Alert Channel
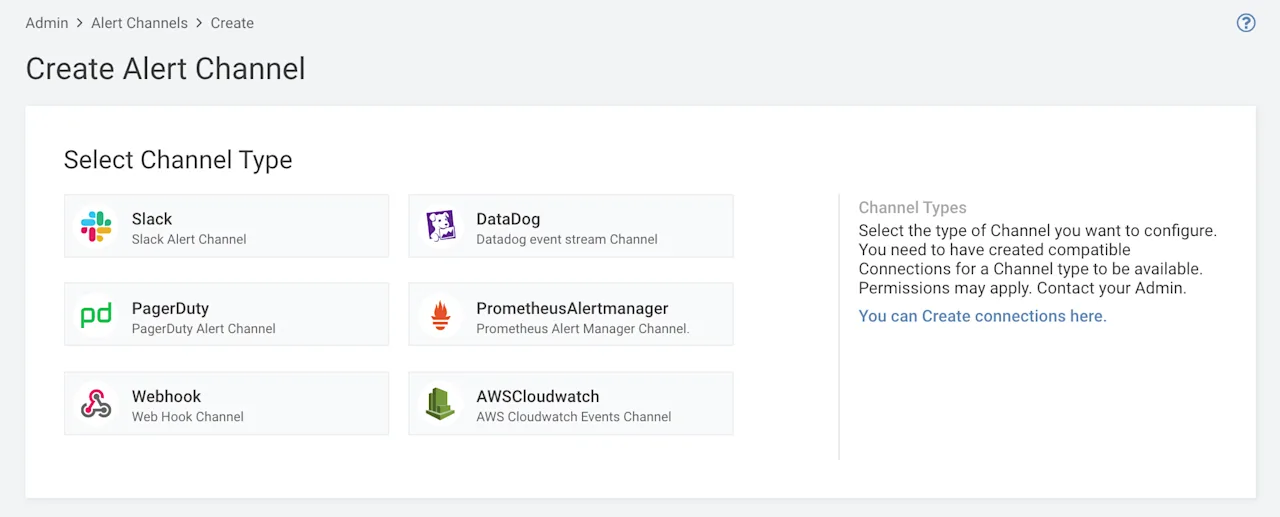
Click on the button for Prometheus Alertmanager. After that, you will be asked to fill in some information.
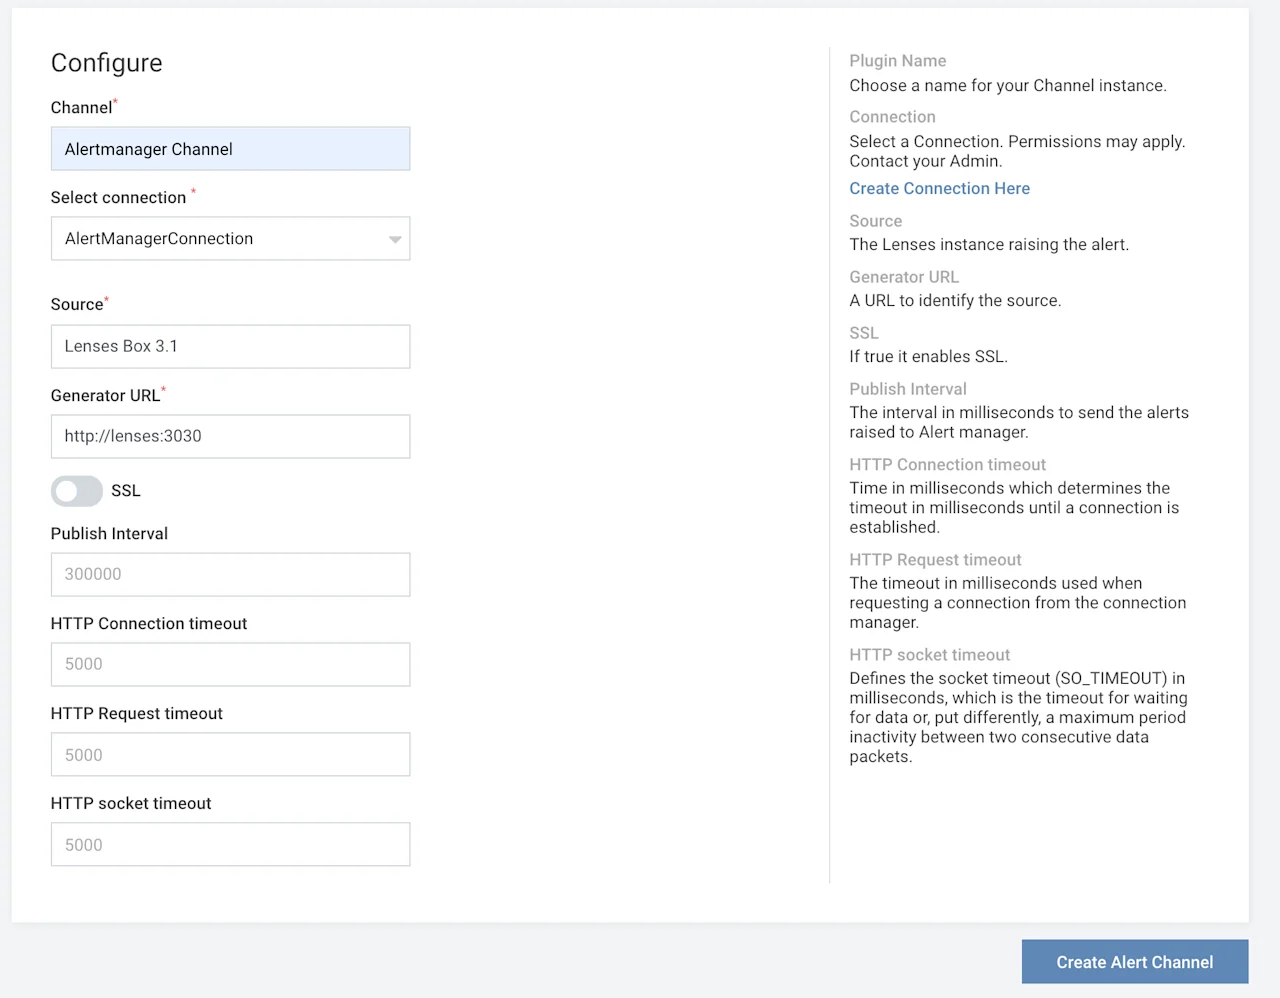
You can put any name you want on the Channel
Select connection
AlertManagerConnection
Source
Generator URL
Click on the Create Alert Channel
Associating a channel with an existing alert
The last step requires that you associate a channel with one or more existing alerts. Go to the ADMIN
Rules
ALERTS
Edit
Infrastructure
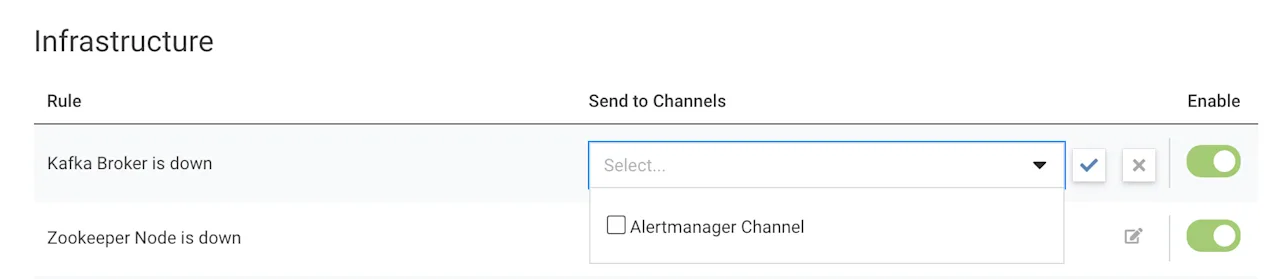
Note that you should click on the empty box on the left of a channel name in order to associate that channel with a rule.
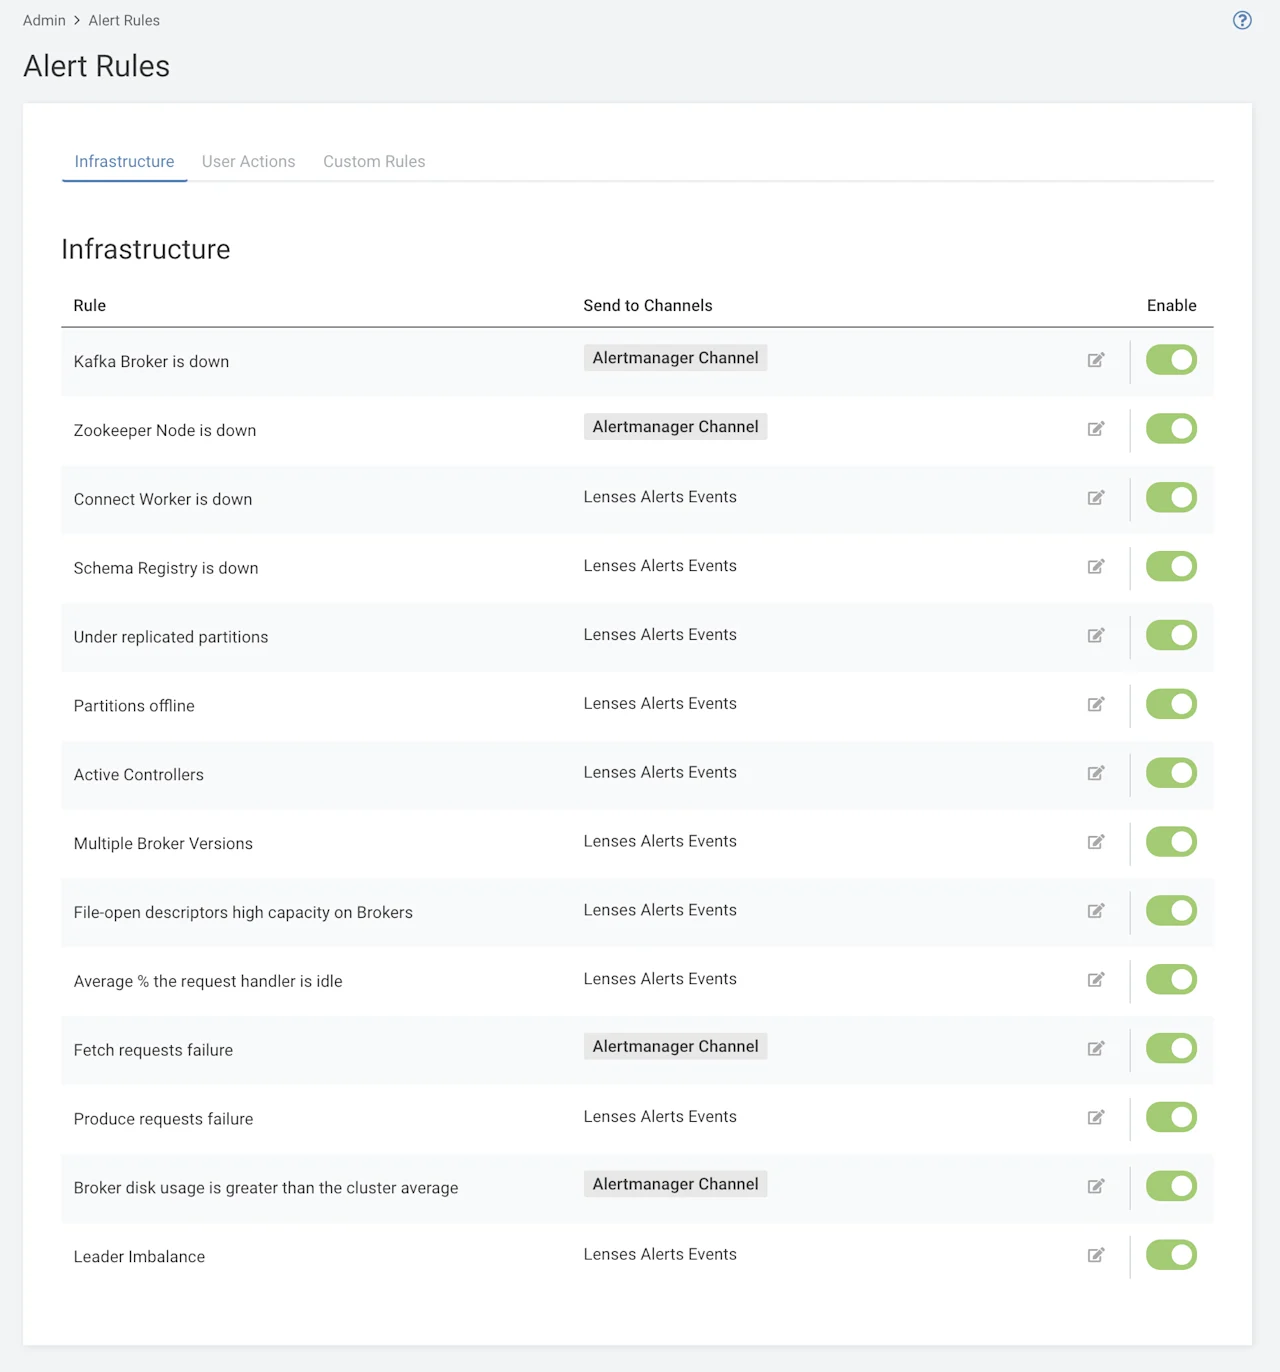
The configuration used in this blog post is presented in the next screenshot.
You should now wait for an event to happen in order for Lenses to send an alert to Alertmanager.
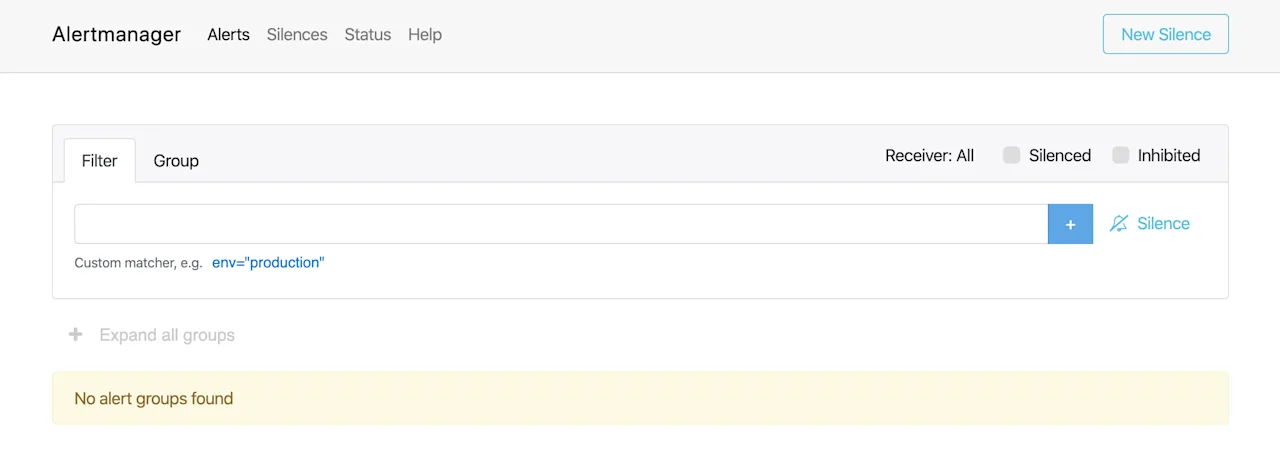
Visiting the Alertmanager UI
Prometheus Alertmanager usually uses port number 9093
http://alertmanager:9093
If a Kafka broker becomes unavailable or if the Zookeeper server is down, you will get the following kind of output on Alertmanager.
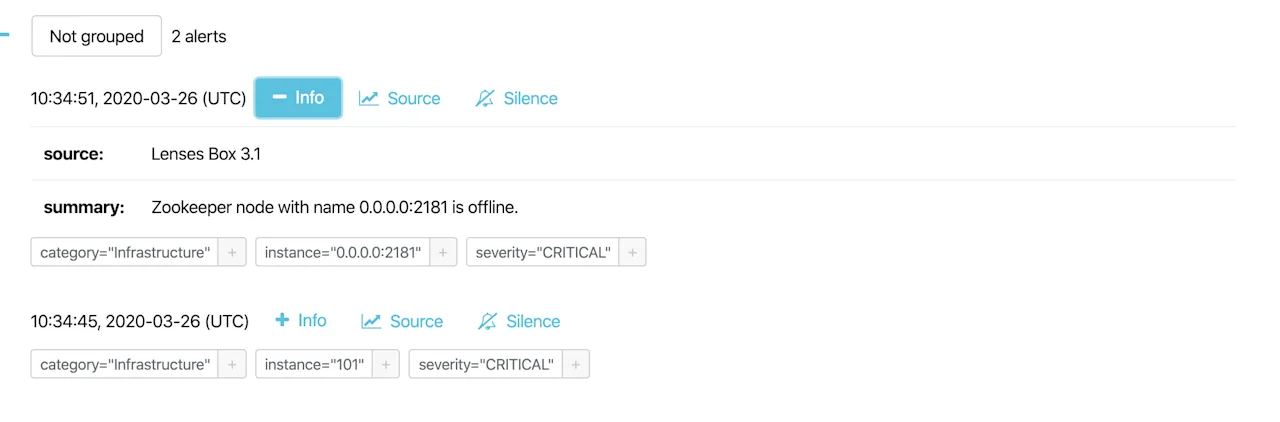
The previous output verifies that Lenses 3.1 can successfully communication with the Prometheus Alertmanager server. Additionally, it shows that there exist two CRITICAL
Next Steps
Now that you know how easy it is to set up alerts with Lenses 3.1, you should start using that handy feature as soon as possible.