By
Oct 07, 2019Mihalis Tsoukalos

Mihalis Tsoukalos
In this blog post will use a Debezium Connector to capture changes from a MySQL database, send them to Kafka and then move the events into Snowflake.
We will configure, deploy and monitor this flow using a single DataOps tool.
Lenses is lightweight and delivers DataOps for your data infrastructure on Apache Kafka and Kubernetes. It provides APIs and a
for streaming data discovery and exploration. It can also monitor your infrastructure, data integration and micro-services, and help you troubleshoot your real-time data.We will be using low-code methods to deploy data integration using Kafka Connect and will manage them via GitOps.
Debezium offers an open source collection of Kafka Connectors that can turn data stores into event streams. That means that you can easily move to event-based architectures and build logic that responds to row-level changes in a data store.
You can read more about the Debezium MySQL connector here.
CDC means Change Data Capture and is a design pattern that monitors and captures any changes in a data store by reading the bin-logs, avoiding the performance impact that a typical JDBC connector applies.
In our example, we will capture all the changes on a MySQL database using CDC and pass the change events to Kafka.
Snowflake is a Cloud data warehouse that can store both structured and semi-structured data.
You are going to need to have Lenses for this tutorial.
You can point Lenses to your Kafka and Kubernetes (if you have one) clusters. To make things easier for this guide, we are going to use the Lenses+Kafka all-in-one free “Lenses Community Edition” docker compose file.
Additionally, you will need to have a valid account to Snowflake.
Use our free, open-source Debezium Connector to communicate with your MySQL database.
The scenario that is going to be implemented has the following steps:
Setup a MySQL database with sample data.
Import data from the MySQL to a Lenses with Kafka using Debezium.
Export the data into Snowflake.
You do not need to do something special in the MySQL database that you are using. What is important is that MySQL is running and that you know the TCP port, username and password required to connect. For the purposes of this tutorial, MySQL will run on a Docker image. You can get the MySQL Docker image as follows:
docker pull debezium/example-mysql:0.10
Notice that this Docker image contains sample data on a database named inventory,
which is the one that is going to be monitored.
After that you can execute that Docker image as follows:
The username that we will be using is root and the password is debezium – both will
be used when setting up the Debezium Connector. Also notice that the name of the image
as defined using --name mysql is mysql.
If you do not want to keep the Debezium Docker image on your computer, you can bypass the docker pull step and execute the docker run command with the --rm parameter, which tells Docker to remove the container when it stops.
If you want to connect to that Docker image using the sqlclient utility, you can execute
the following command, which runs the mysql utility inside a Docker image named
mysql:5.7:
From there you can inspect the contents of the inventory MySQL database and make
changes to the contents of its tables.
Setting up Lenses Community Edition is as simple as executing the command:
IMPORTANT: When you registered for the “Lenses Community Edition”, you would have received the above docker command with a valid free license (instead of the “xxxxxxxxx” in the id parameter). Check your emails for your unique command.
You need the --link mysql:mysql parameter so that the Lenses image can find
the Docker image with MySQL, which is going to be called mysql. Notice that a
MySQL Docker image named mysql should already be running for the above docker run
command to work.
You might need to wait a little for the Lenses Docker image to load all necessary
components. After that you will be able to connect to Lenses from your favorite
web browser on port 9991 – the username and the password are both admin.
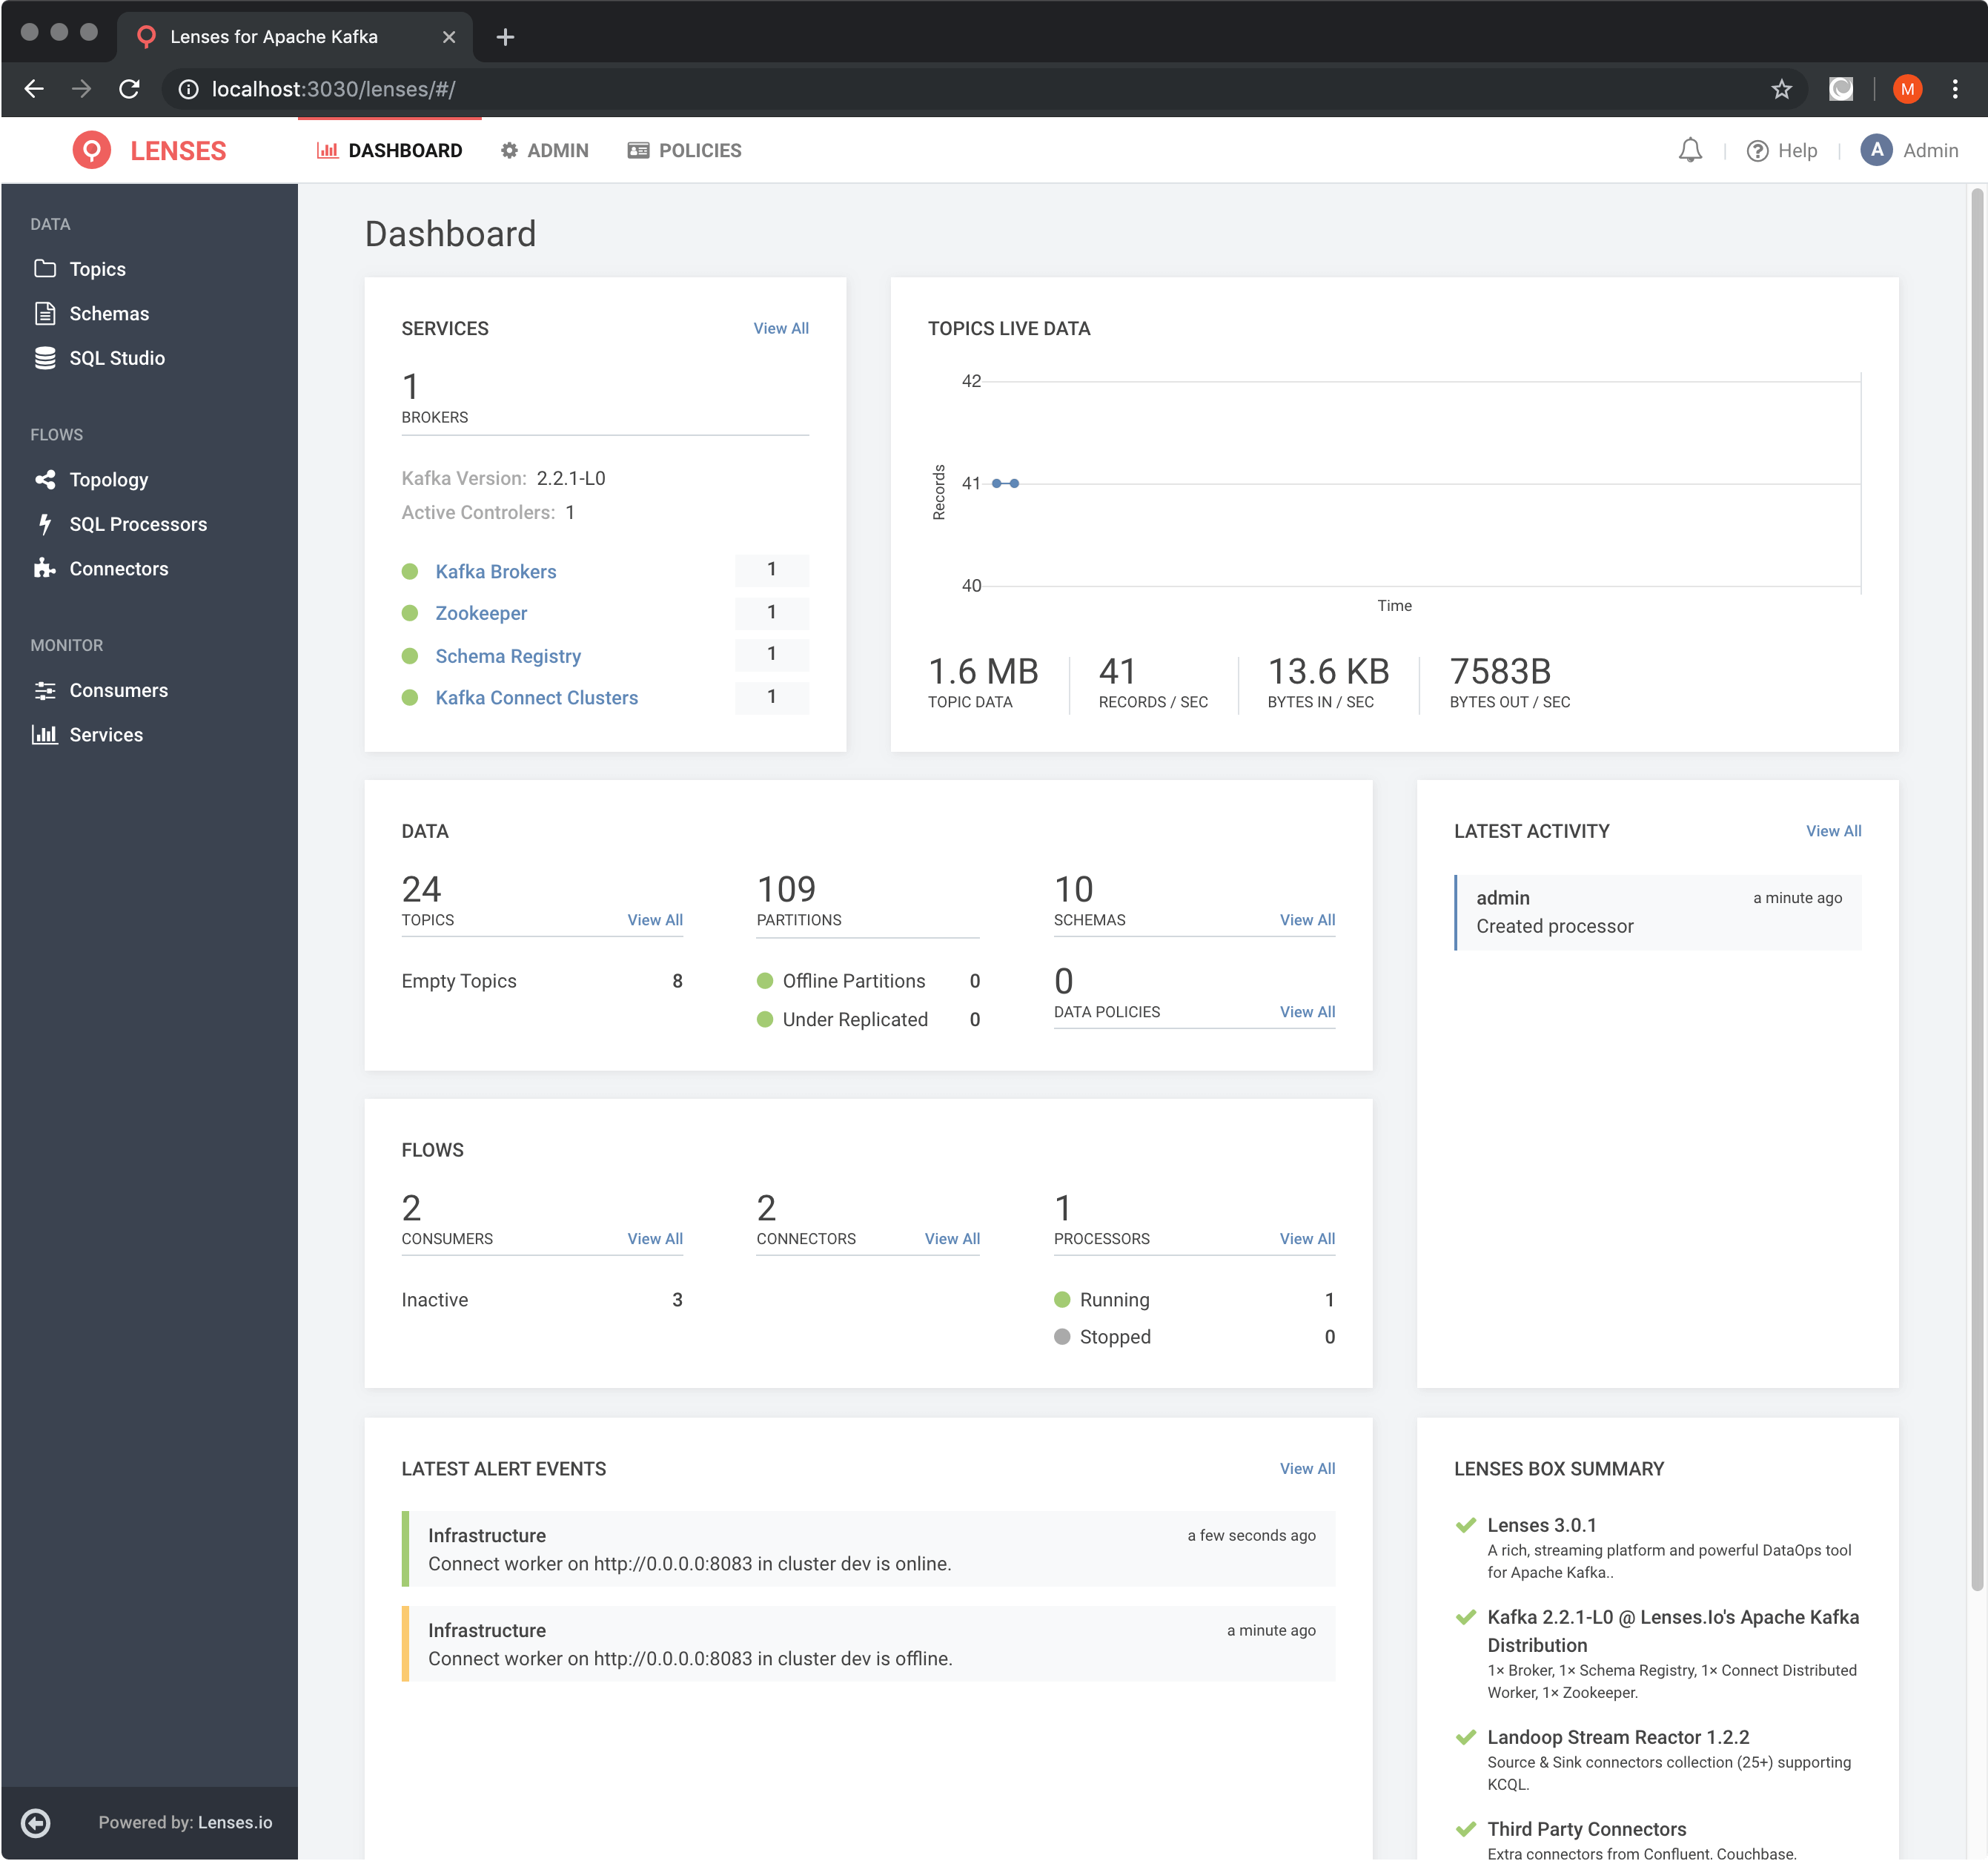
After connecting, you will see the image that follows on your web browser.
You will need a Snowflake account in order to be able to use it. The easiest way is to visit https://trial.snowflake.com and create a trial account.
For the purposes of this tutorial the Snowflake username is mihalis. Notice that
the password will not be needed for creating the connection between Lenses and
Snowflake. However, you will still need your Snowflake password for connecting to
the Snowflake UI.
The name of the Snowflake server is
re91701.eu-west-1.snowflakecomputing.com. Yours will be different, That means
if you try to follow this tutorial, you will have to replace
re91701.eu-west-1.snowflakecomputing.com with your Snowflake server address.
We will need to install the Snowflake Kafka Connector to a Lenses Community Edition. We will be using version 0.4.0 of the Snowflake Kafka Connector. Please visit this page for the full list of available Snowflake Kafka Connectors.
You will need to connect to the Docker image of the Lenses with the following command:
docker exec -it lenses-dev bash
Notice that the name of the Lenses being used is lenses-dev and was specified
using the --name=lenses-dev parameter.
The previous step is required because you will need to install the Snowflake Connector inside the running Lenses.
You will need to download the Snowflake Kafka Connector with the command:
Put the downloaded file in the right directory with:
mv snowflake-kafka-connector-0.4.0.jar /run/connect/connectors/third-party/
Congratulations, you have just installed the Snowflake Kafka Connector jar file by
putting it in the /run/connect/connectors/third-party/ directory of Lenses.
However, you will need to edit /run/lenses/lenses.conf and add the following text
at the end of the Lenses configuration file in order for Lenses to understand the
Snowflake Connector:
Execute the following commands, which are needed for the Snowflake Connector to work:
The last commands that you need to execute is the following:
The former command tells Lenses to search for new Connectors whereas the latter
command restarts Lenses in order to reread the new configuration from
/run/lenses/lenses.conf.
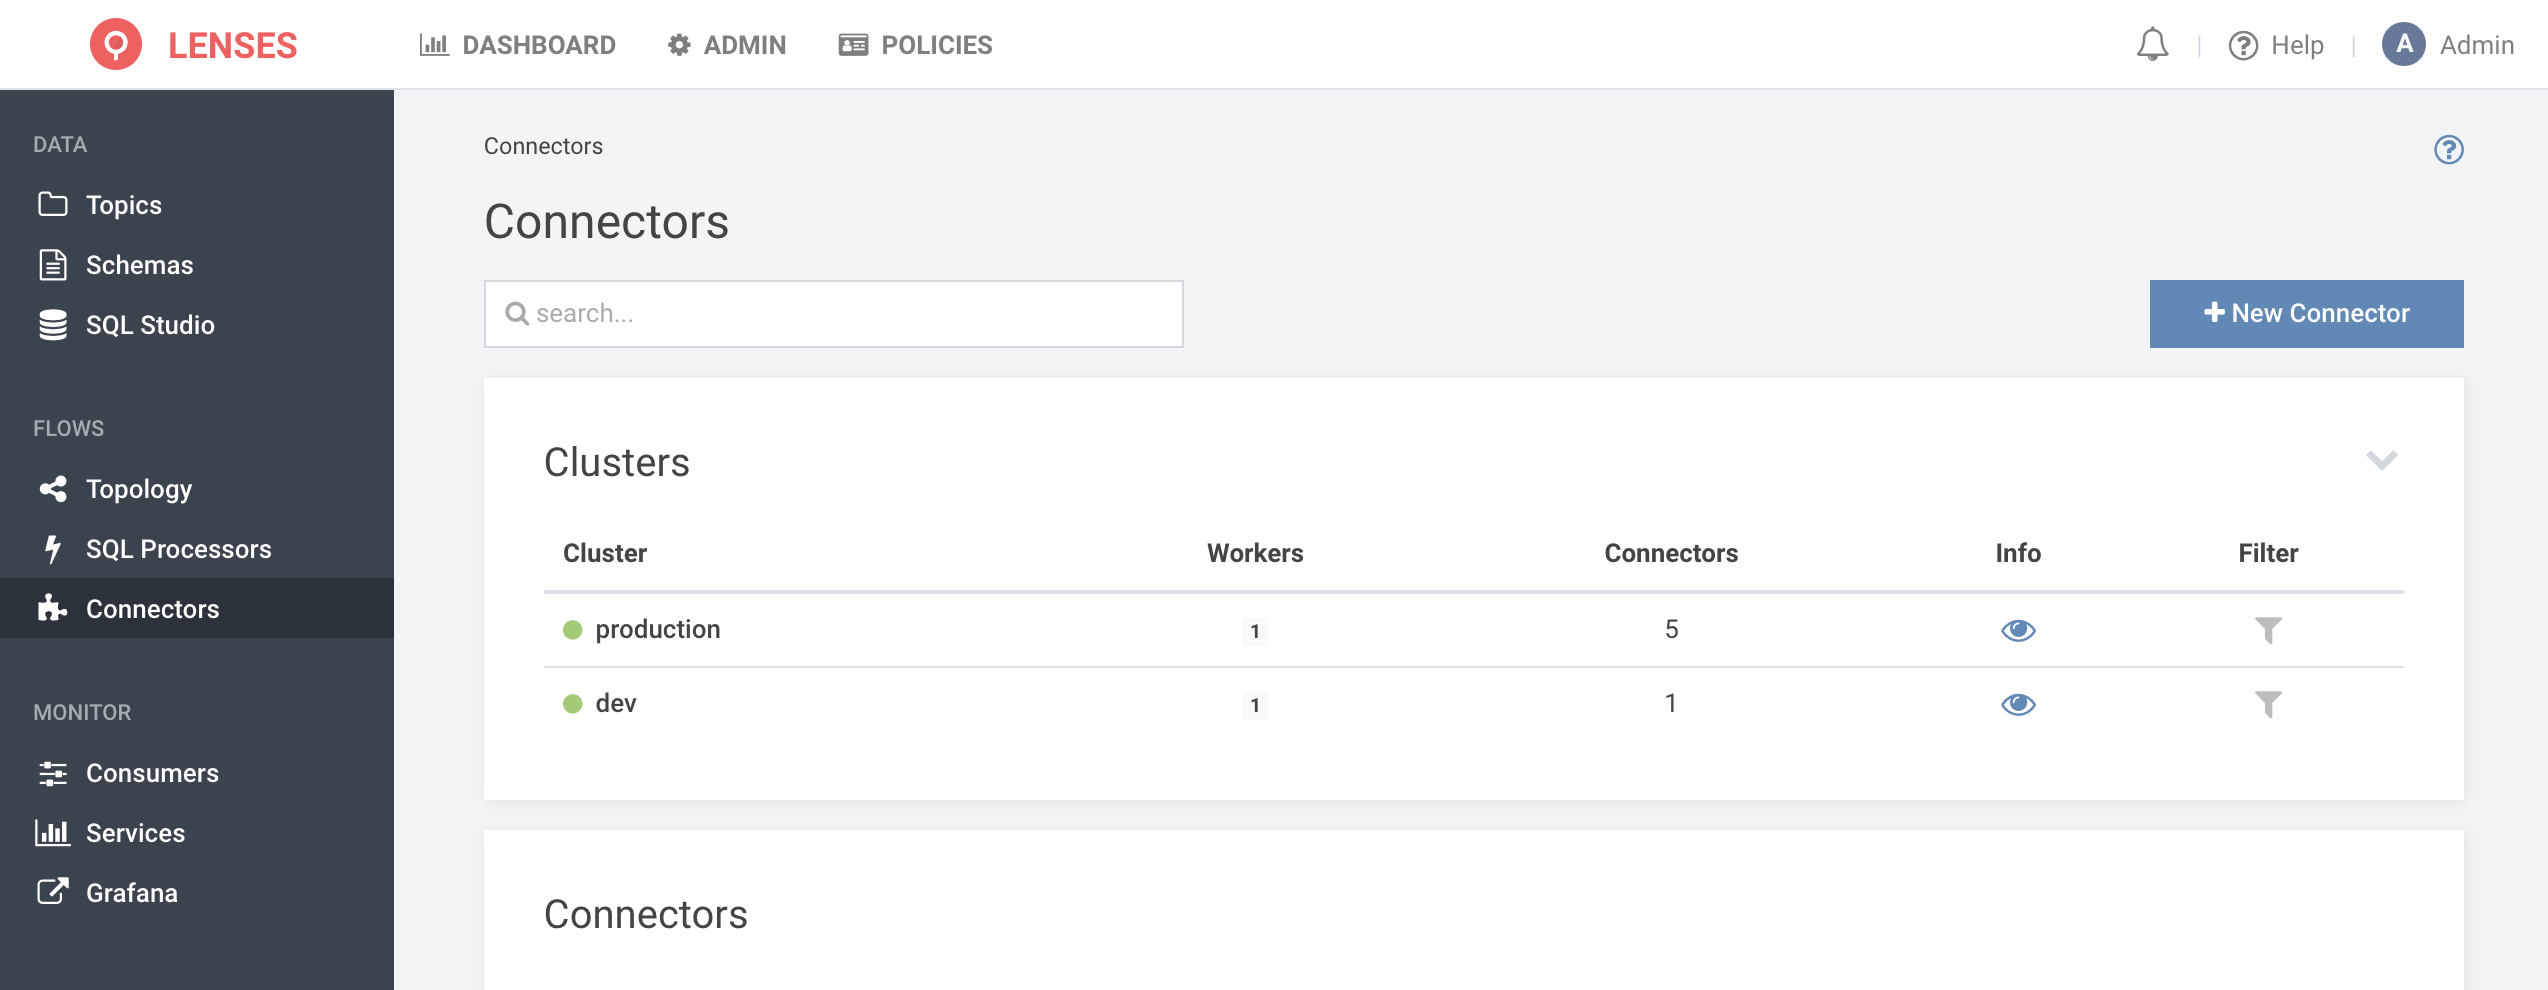
In order to make sure that the Snowflake Kafka Connector is property installed you will need to visit the Connectors link inside Lenses and press the + New Connector button.
The following image proves that the Snowflake Connector is recognized by Lenses Community Edition and therefore is properly installed.
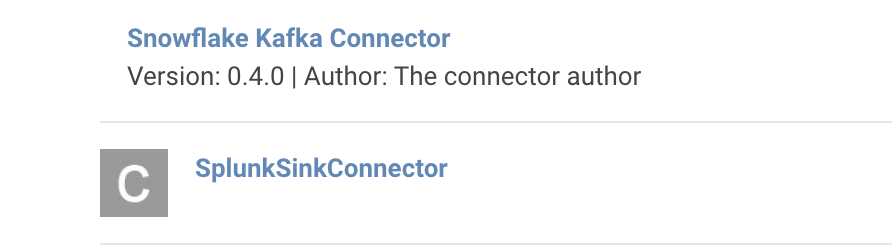
You can find more information about the Snowflake Kafka Connector here.
As stated before, we are going to use the Debezium Connector to get row-level changes from MySQL to Kafka.
We will now create a new Connector using the Debezium MySQL Connector available in Lenses. The Debezium configuration will be the following:

The name of the MySQL database that we are going to watch is inventory and exists
in the debezium/example-mysql:0.10 Docker image.
Now, connect to the MySQL database using the command we talked about earlier:
Then, create a new table named profits to the inventory database as follows:
Within Lenses, go to the Topics >> schema-changes.inventory
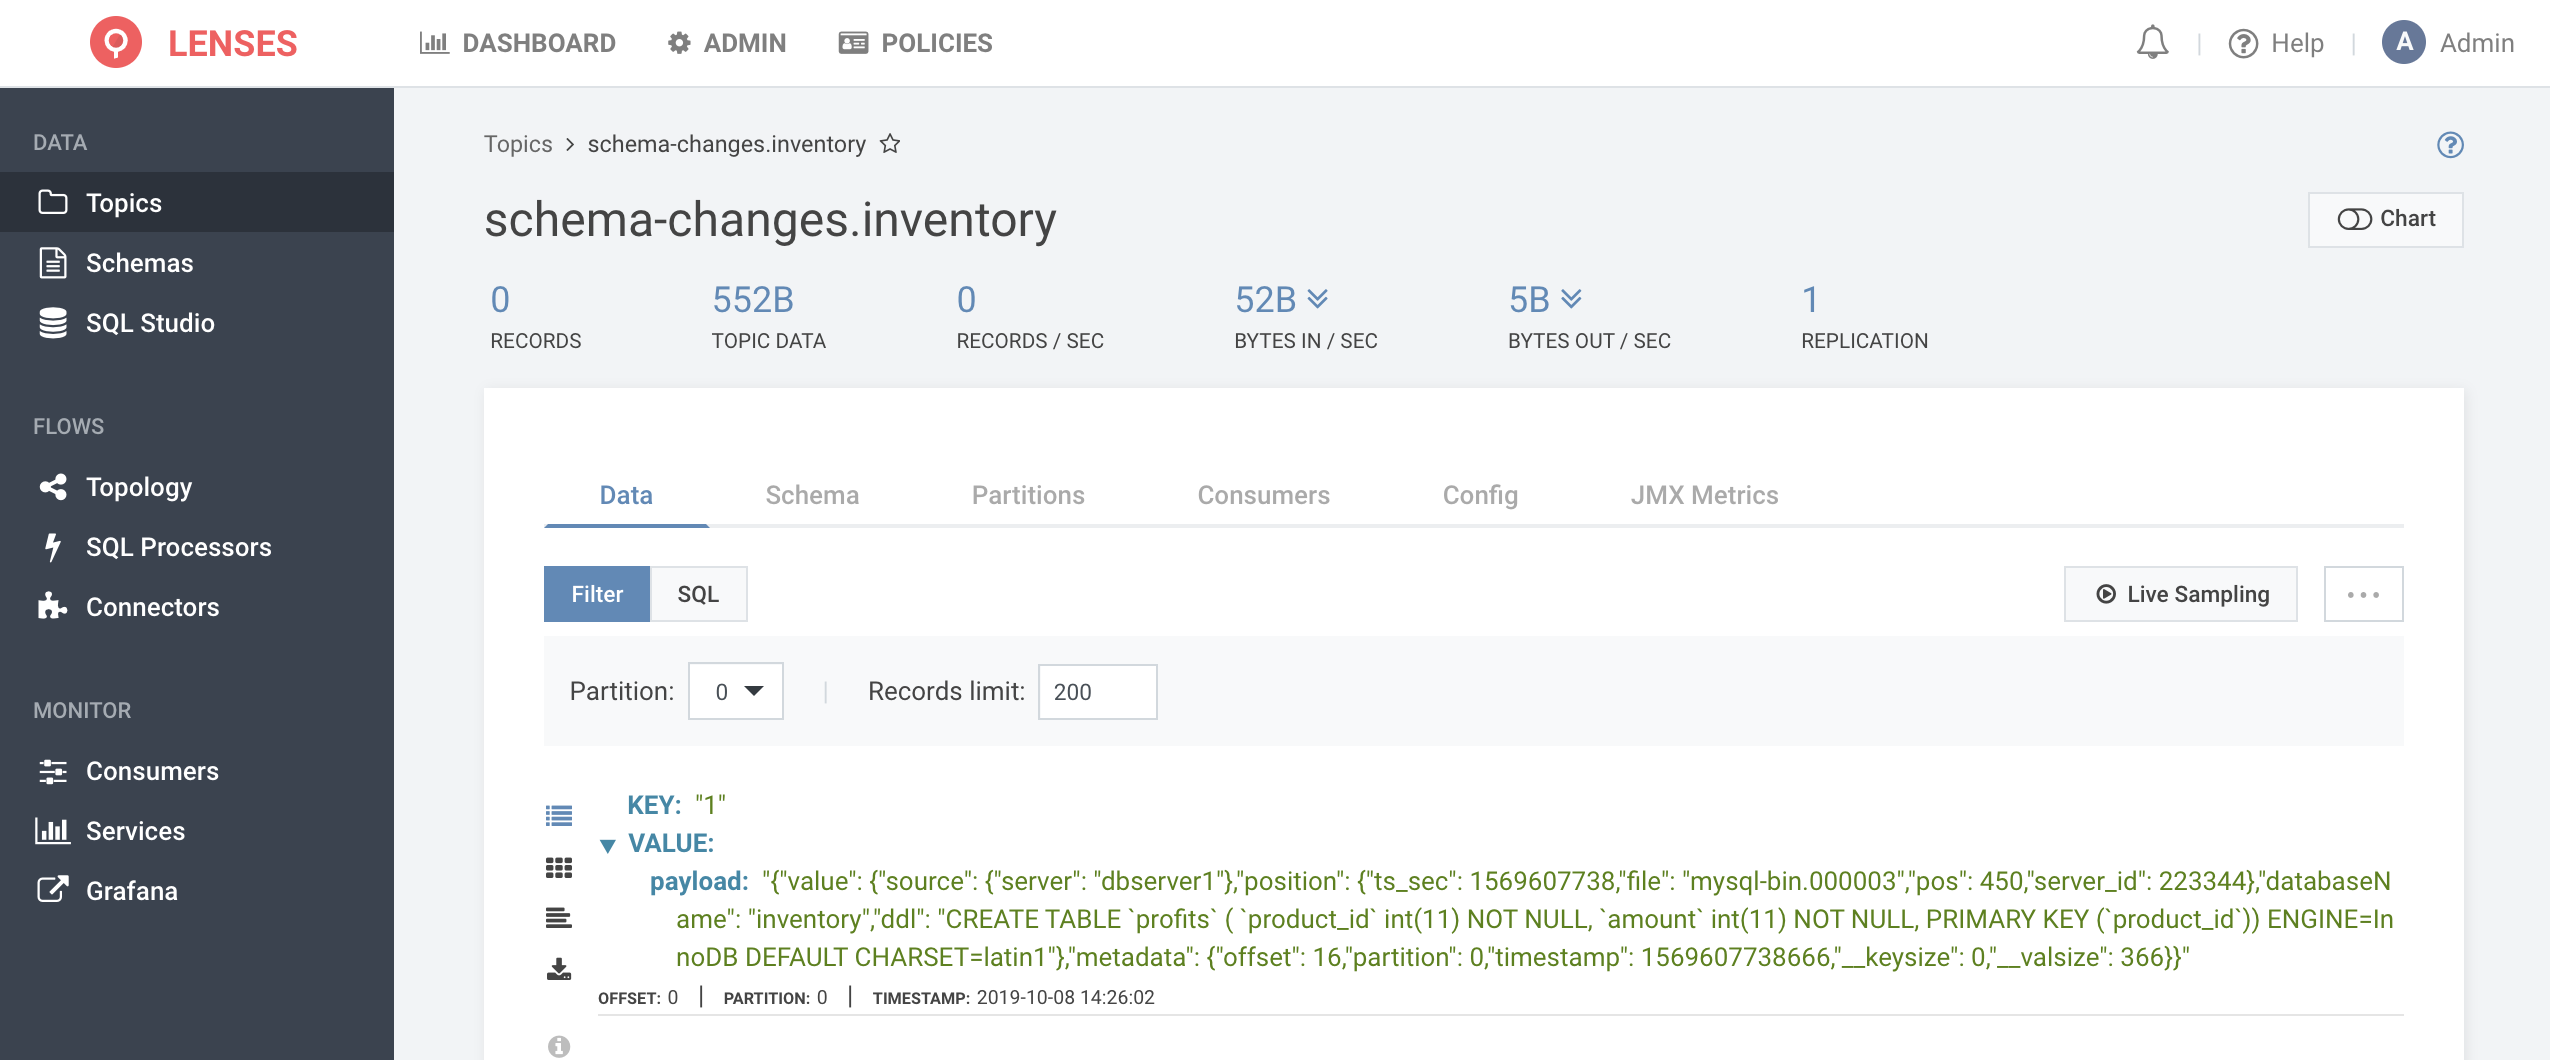
There will be a new record to the schema-changes.inventory Kafka topic, which
in JSON format will look similar to the following:
This proves that everything works well with Debezium and Lenses.
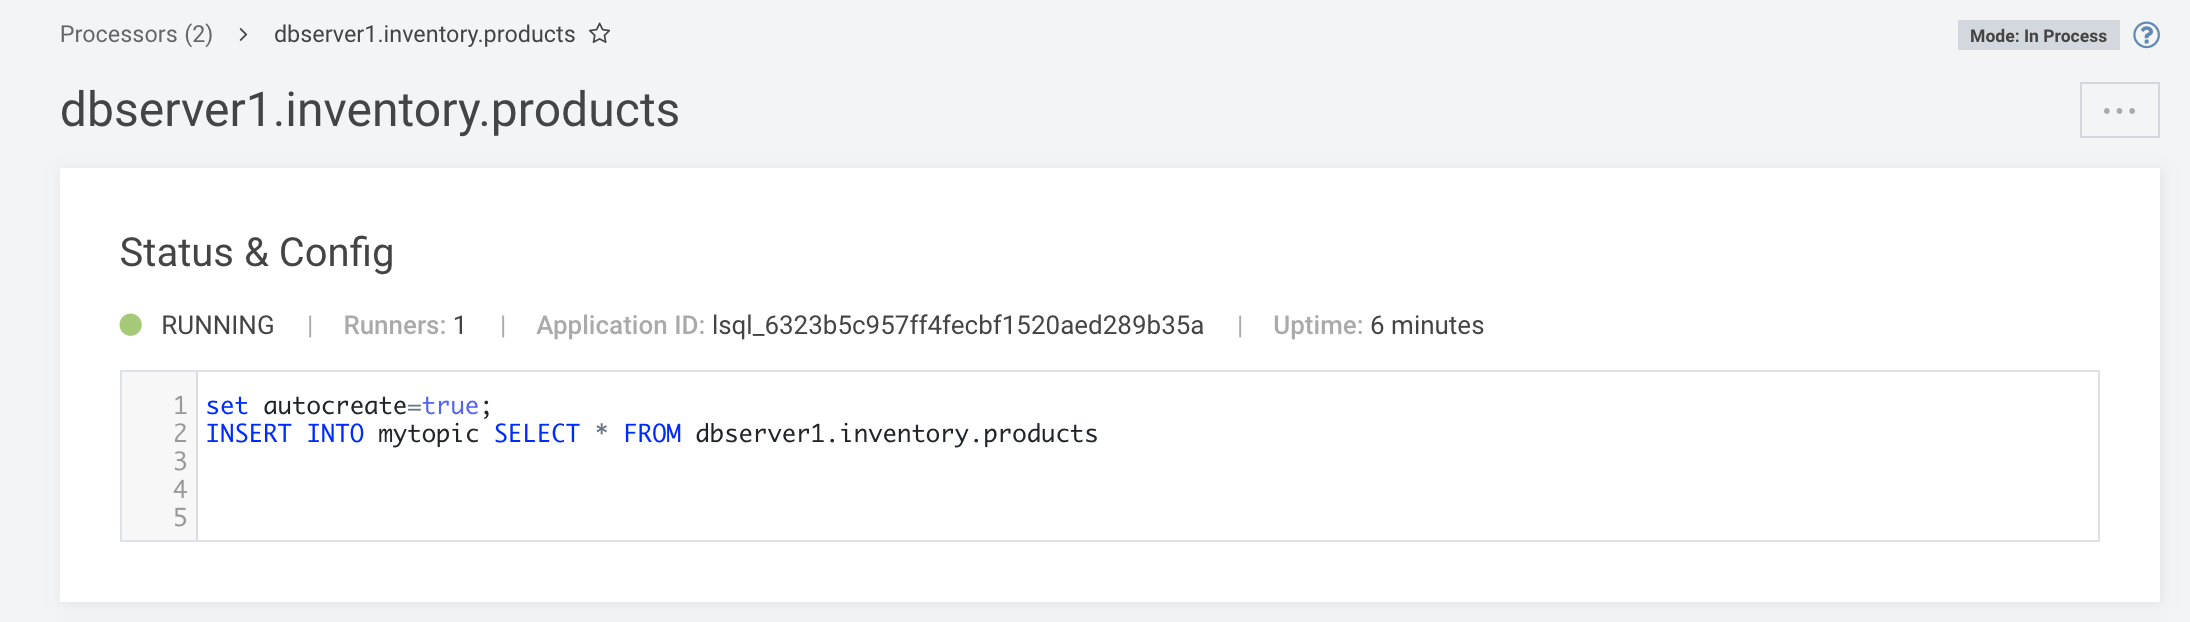
So, imagine that you want to transfer data from dbserver1.inventory.products to
Snowflake.
In this case, you will need to rename that topic into something simpler because it looks like Snowflake hates dot characters in topic names. The easiest way to do that is using a SQL processor (SQL Processor >> New Processor) that will continuously process events and transform them via an SQL statement.
For the purposes of this tutorial, the code for the SQL processor will be the following:
The new name for dbserver1.inventory.products will be mytopic – however the
dbserver1.inventory.products still exists. The following figure shows that in
a graphical way.
After the installation of the Snowflake Kafka Connector, the process of connecting Lenses and Snowflake is straightforward.
Create a new Sink using the Snowflake Connector in Connectors >> New Connector >> Snowflake. The configuration for the Snowflake Sink in Lenses will be the following:
In order to get the correct value for snowflake.private.key you will need to visit
this
and follow the instructions.
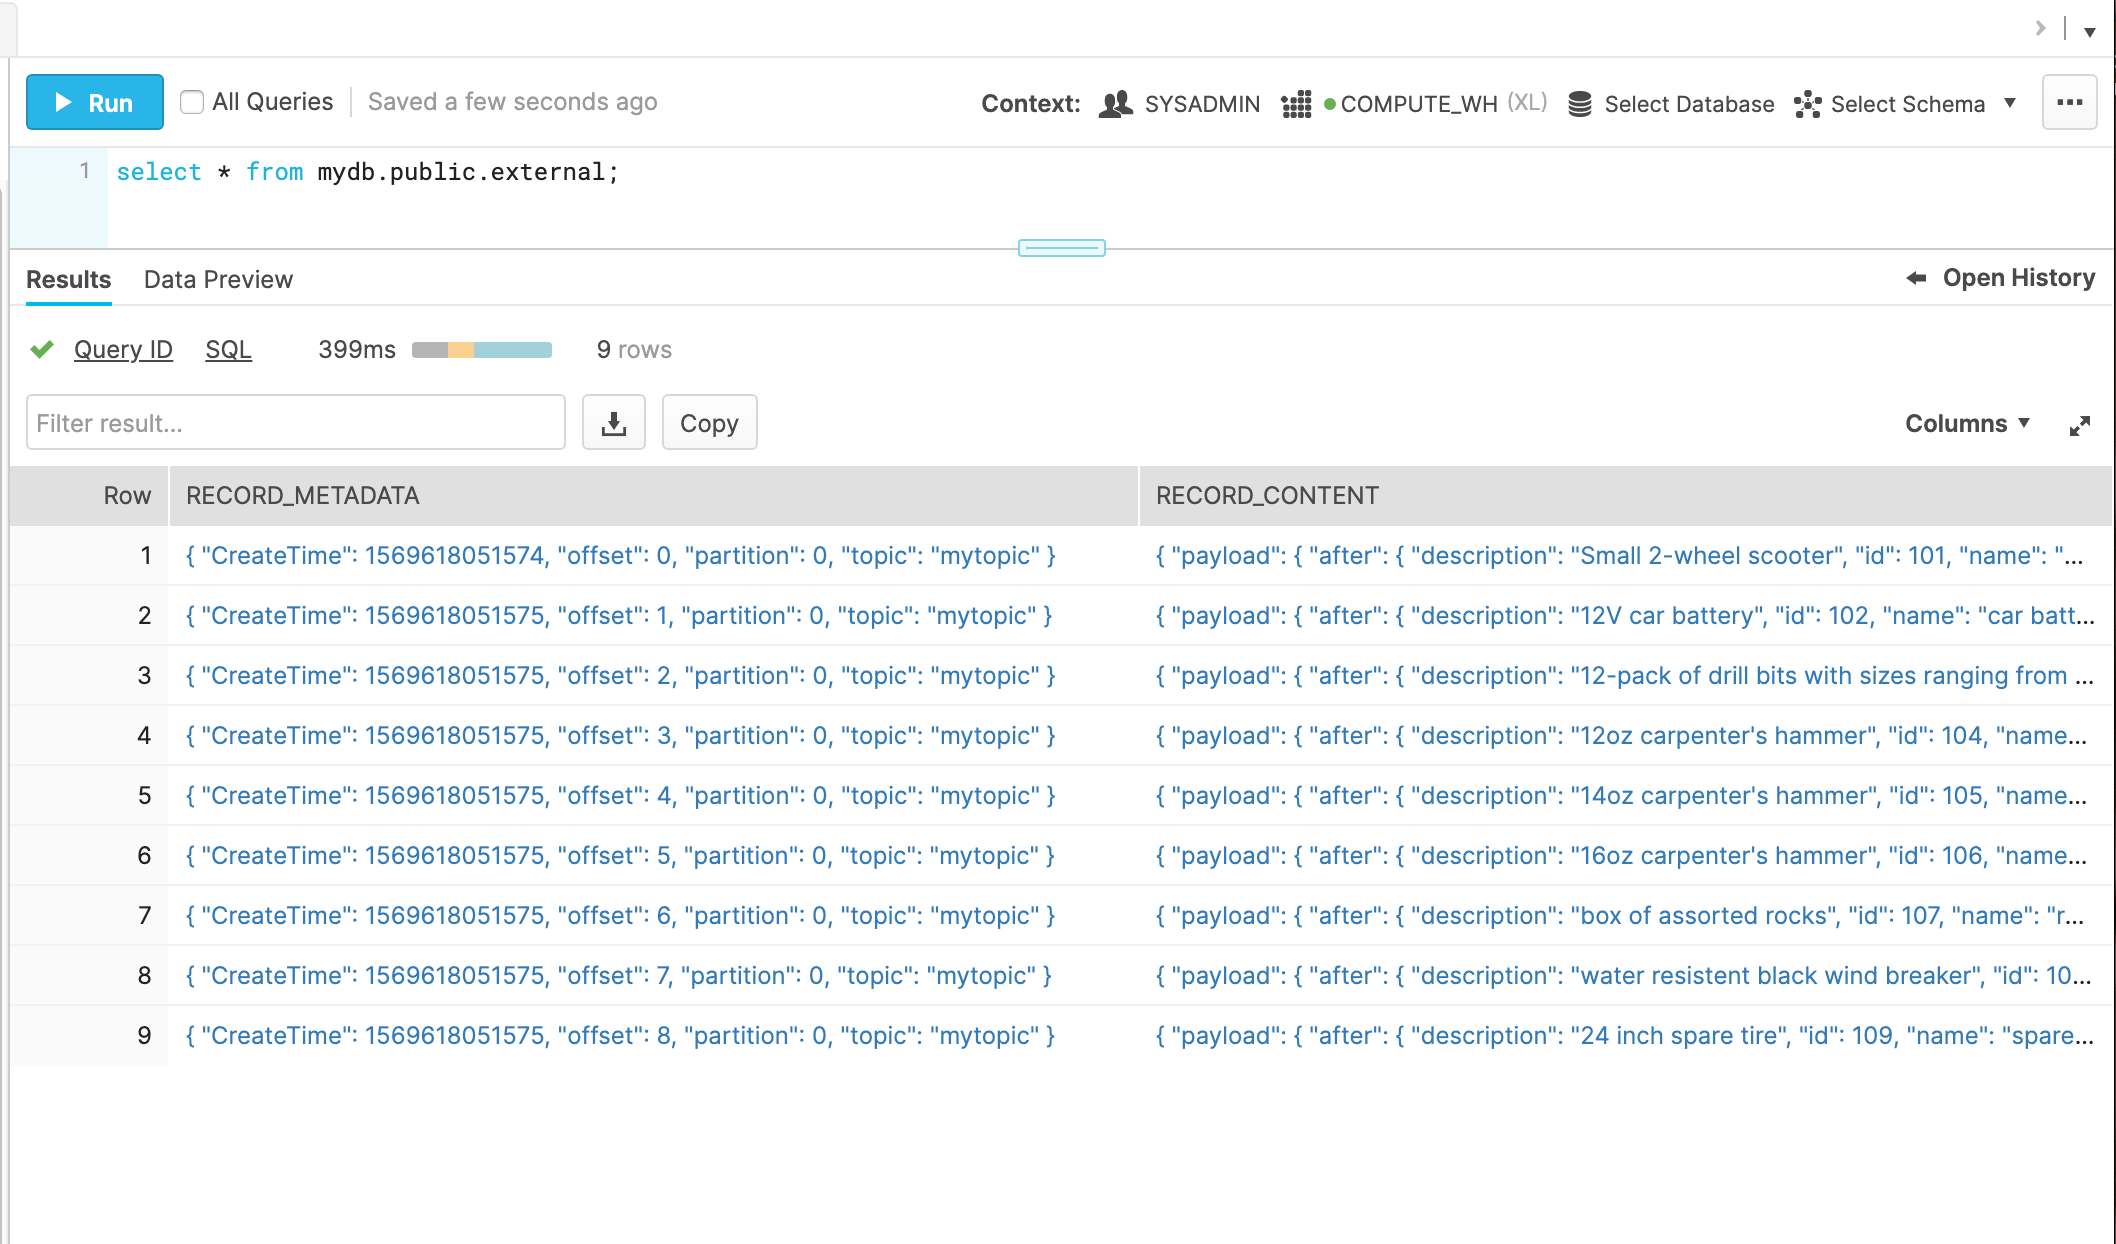
Visiting Snowflake will verify that the data from Lenses is sent to Snowflake
successfully. Data is read from mytopic in Lenses and written to external in
Snowflake. The Snowflake database and schema used are mydb and public, respectively.
Lenses provides a DataOps layer to configure, manage, debug and deploy flows. You can manage these flows via GitOps and leverage Lenses to bake in monitoring, alerting and data compliance. Check out our other blogs for more info.
Get familar with everything you can do with Lenses Community Edition in this tour:
Reasons and challenges for Kafka replication between clusters, includi...
Andrew Stevenson


