Get started with
Lenses.io for AWS MSK
Full visibility and control over your real-time data and applications on AWS Managed Streaming for Apache Kafka.
Get started now!
01.
What do I get with Lenses.io
for MSK?
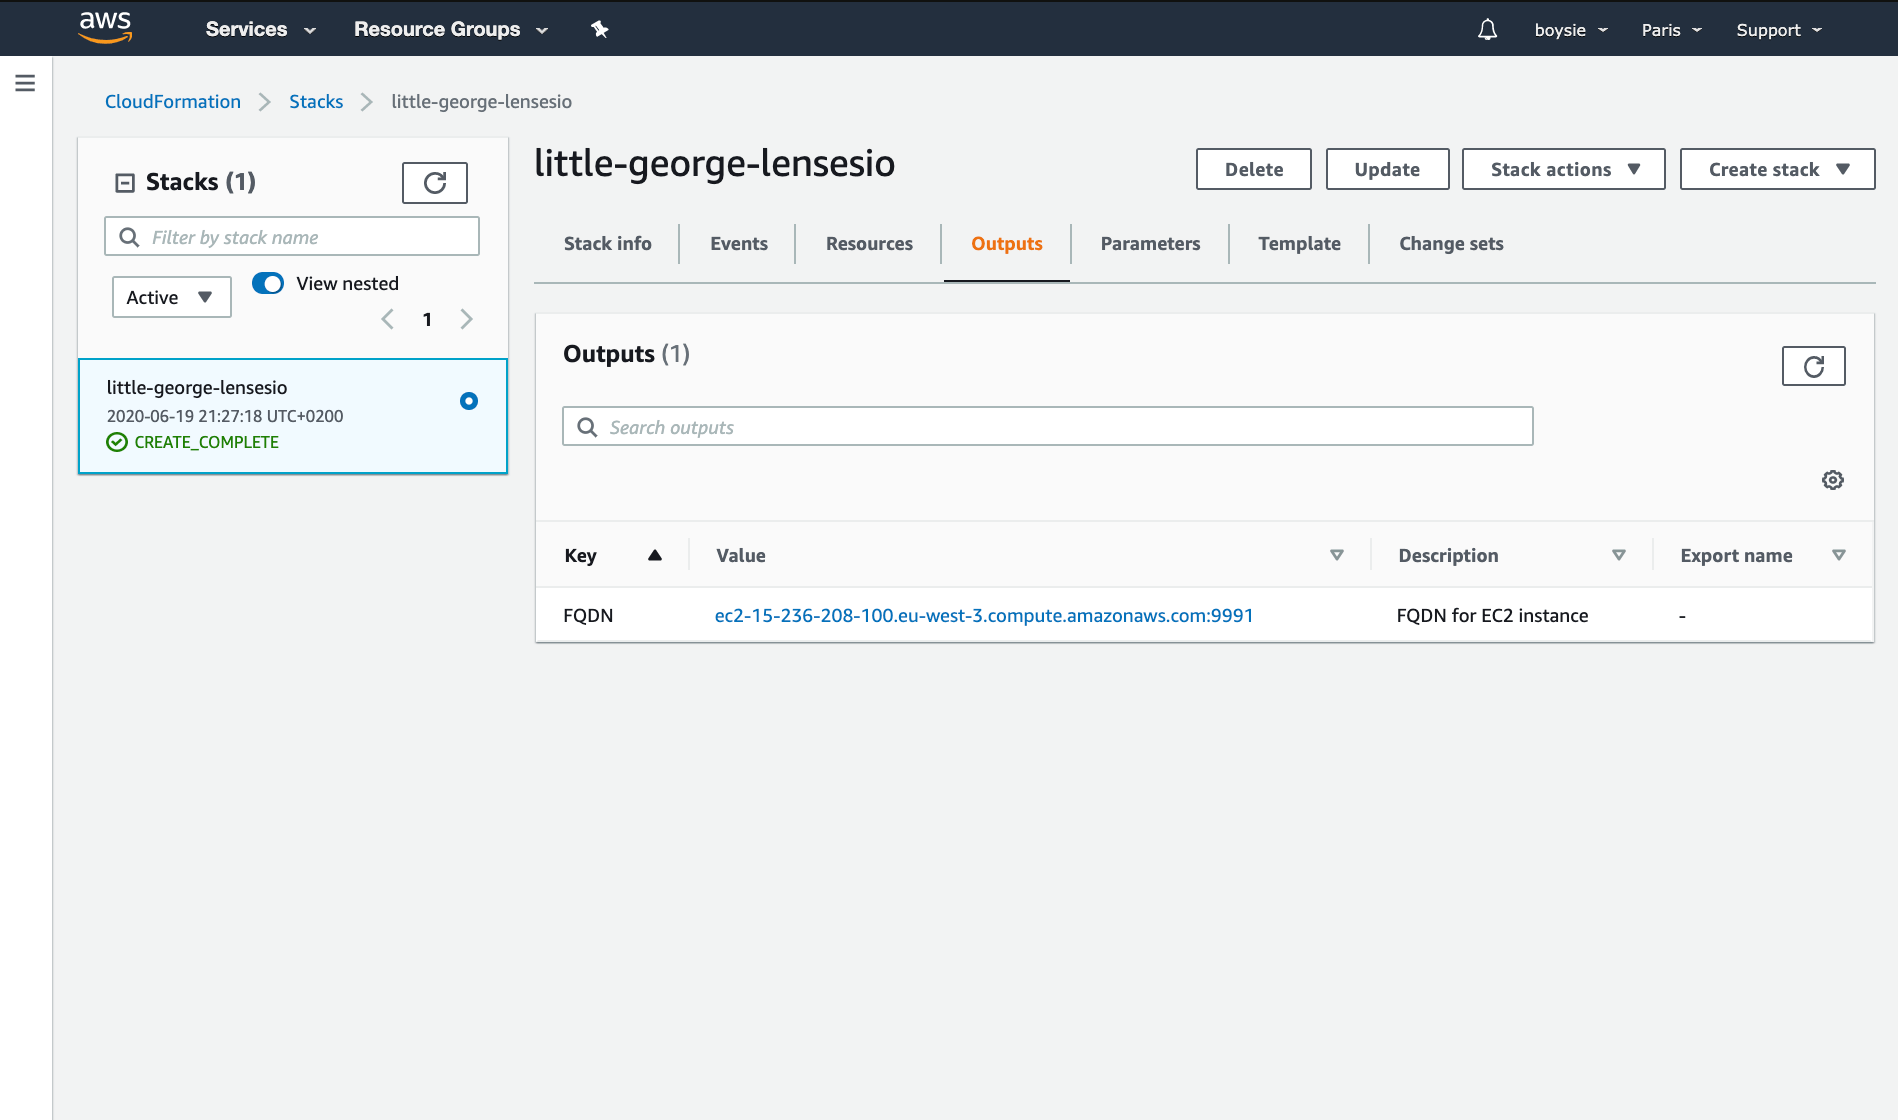
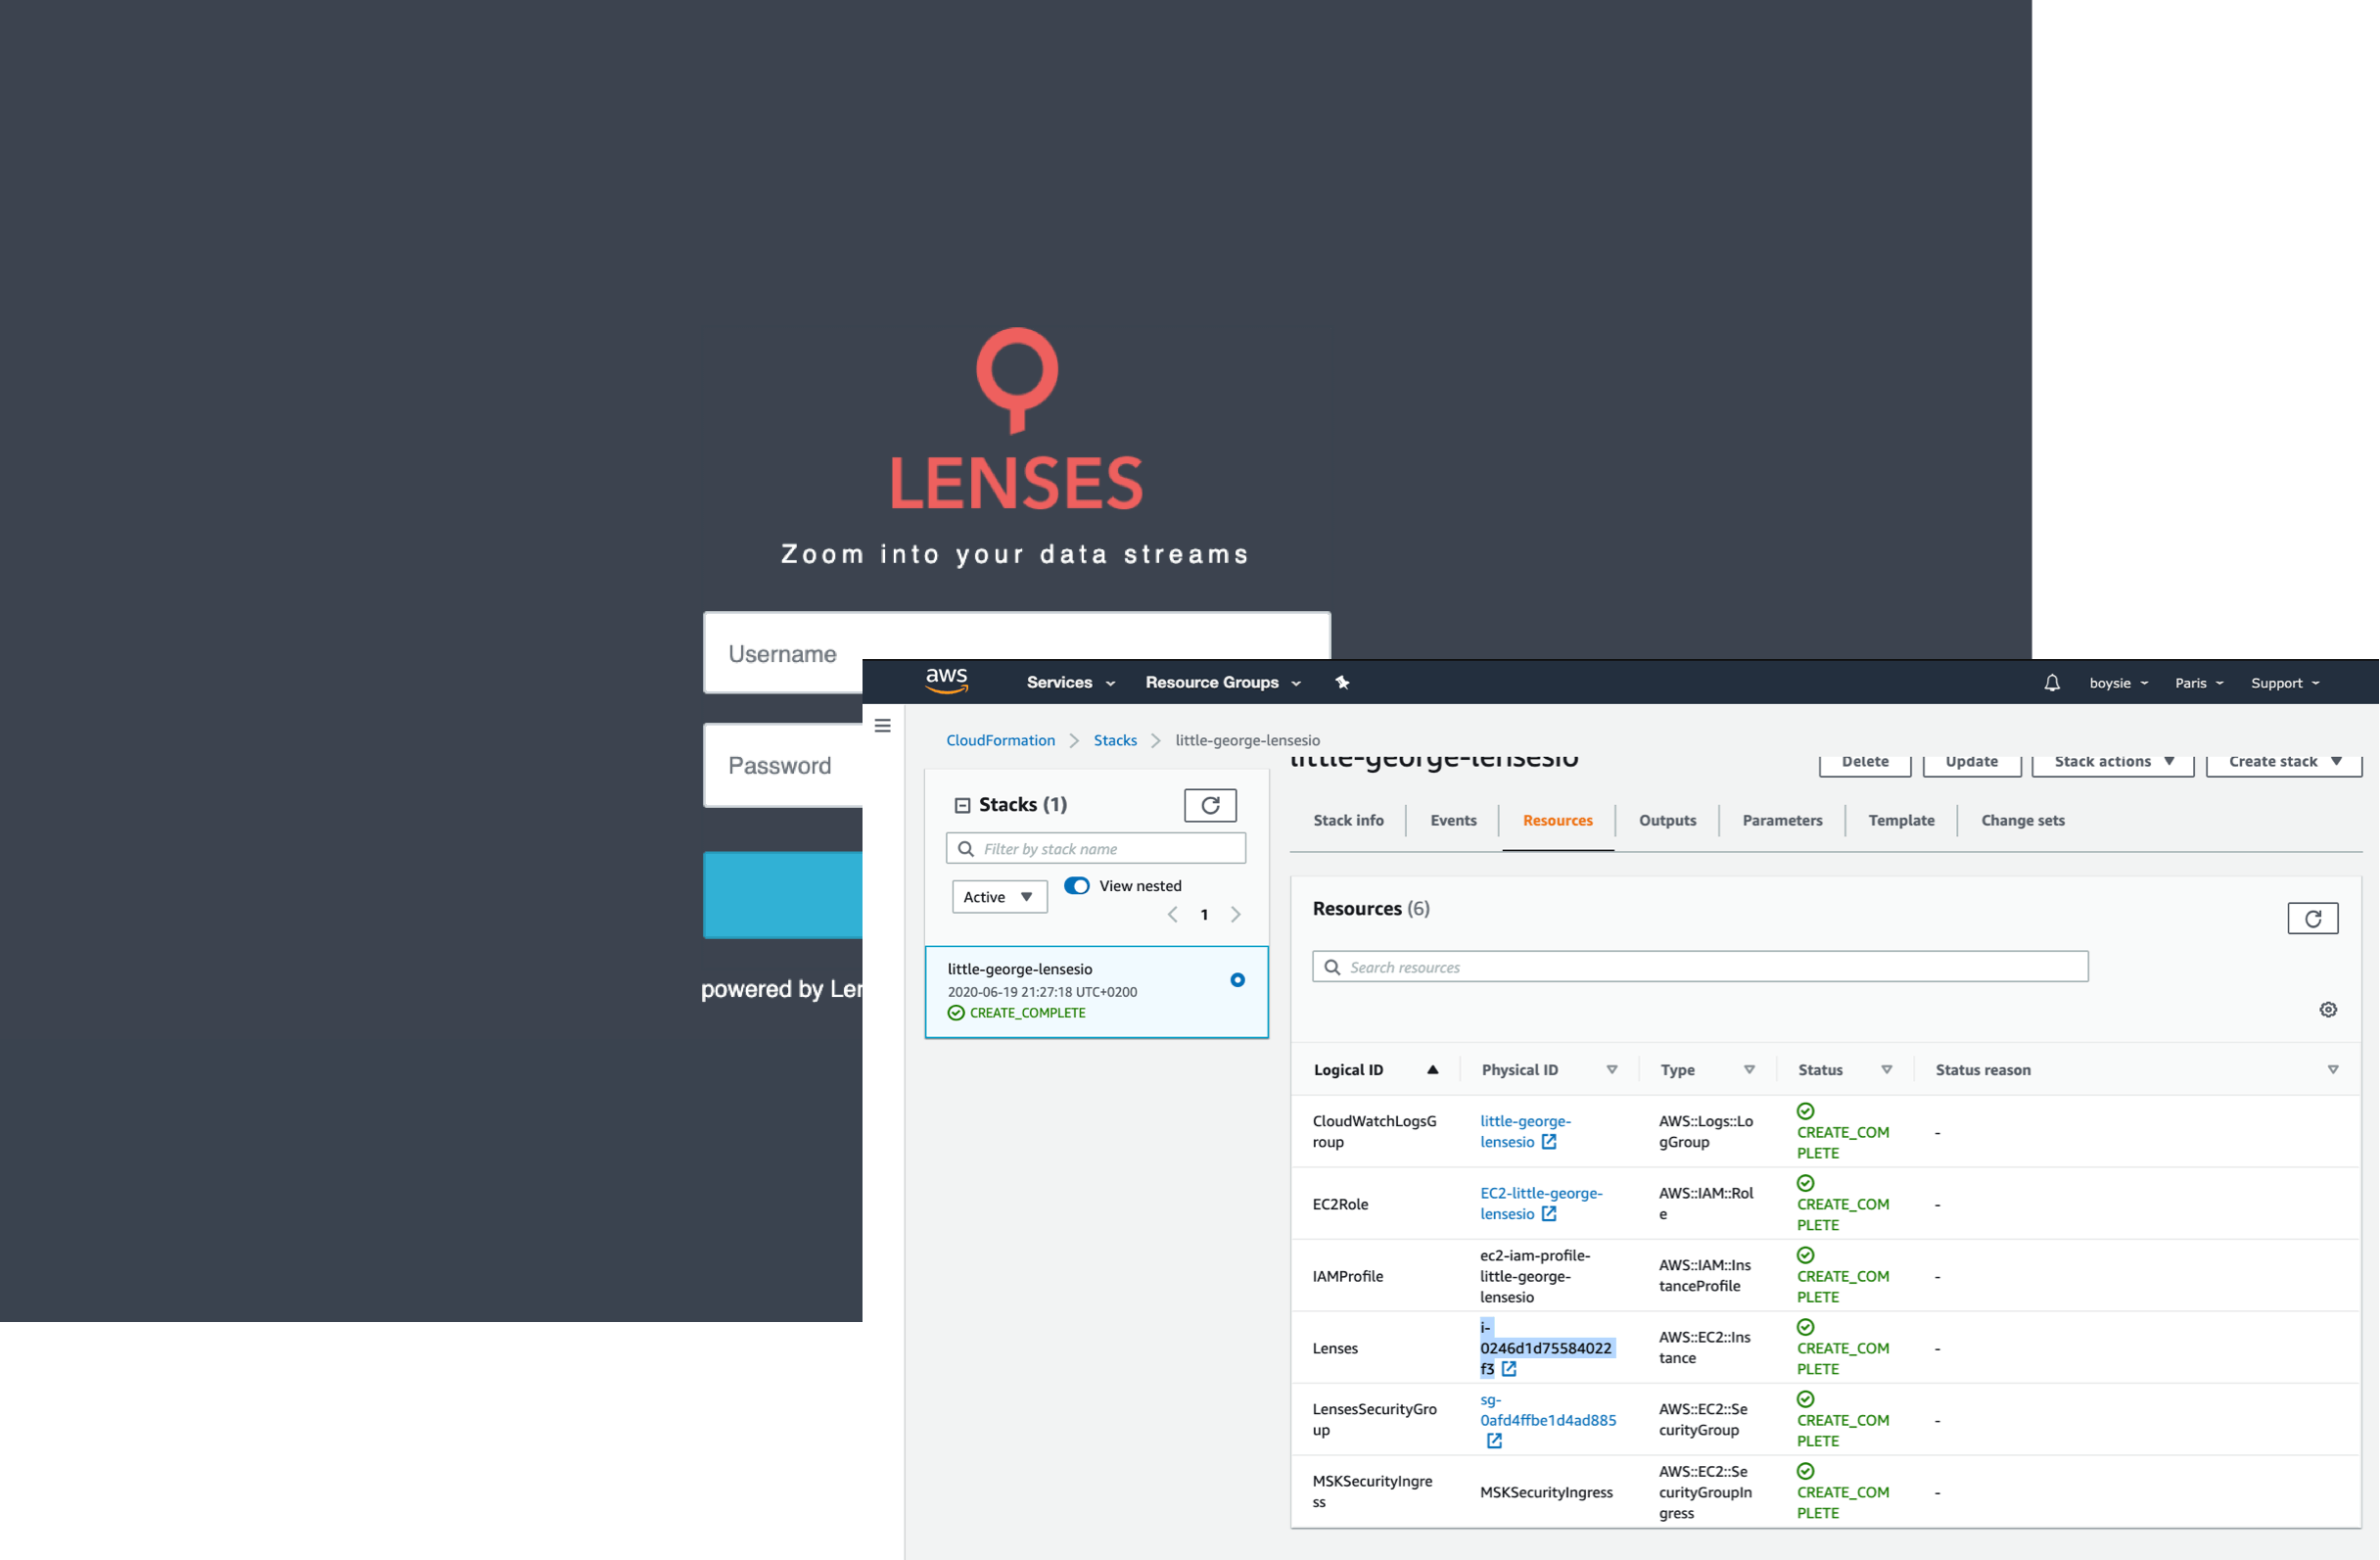
In just a few short minutes, Lenses.io will be deployed into your own AWS VPC environment and connected to your AWS MSK cluster. Finally giving you complete visibility and control over your real-time data and applications including:
- Data access with SQL
- Self-service data & application operations
- Real-time app and data integration development with SQL
02.
Pre-requisites
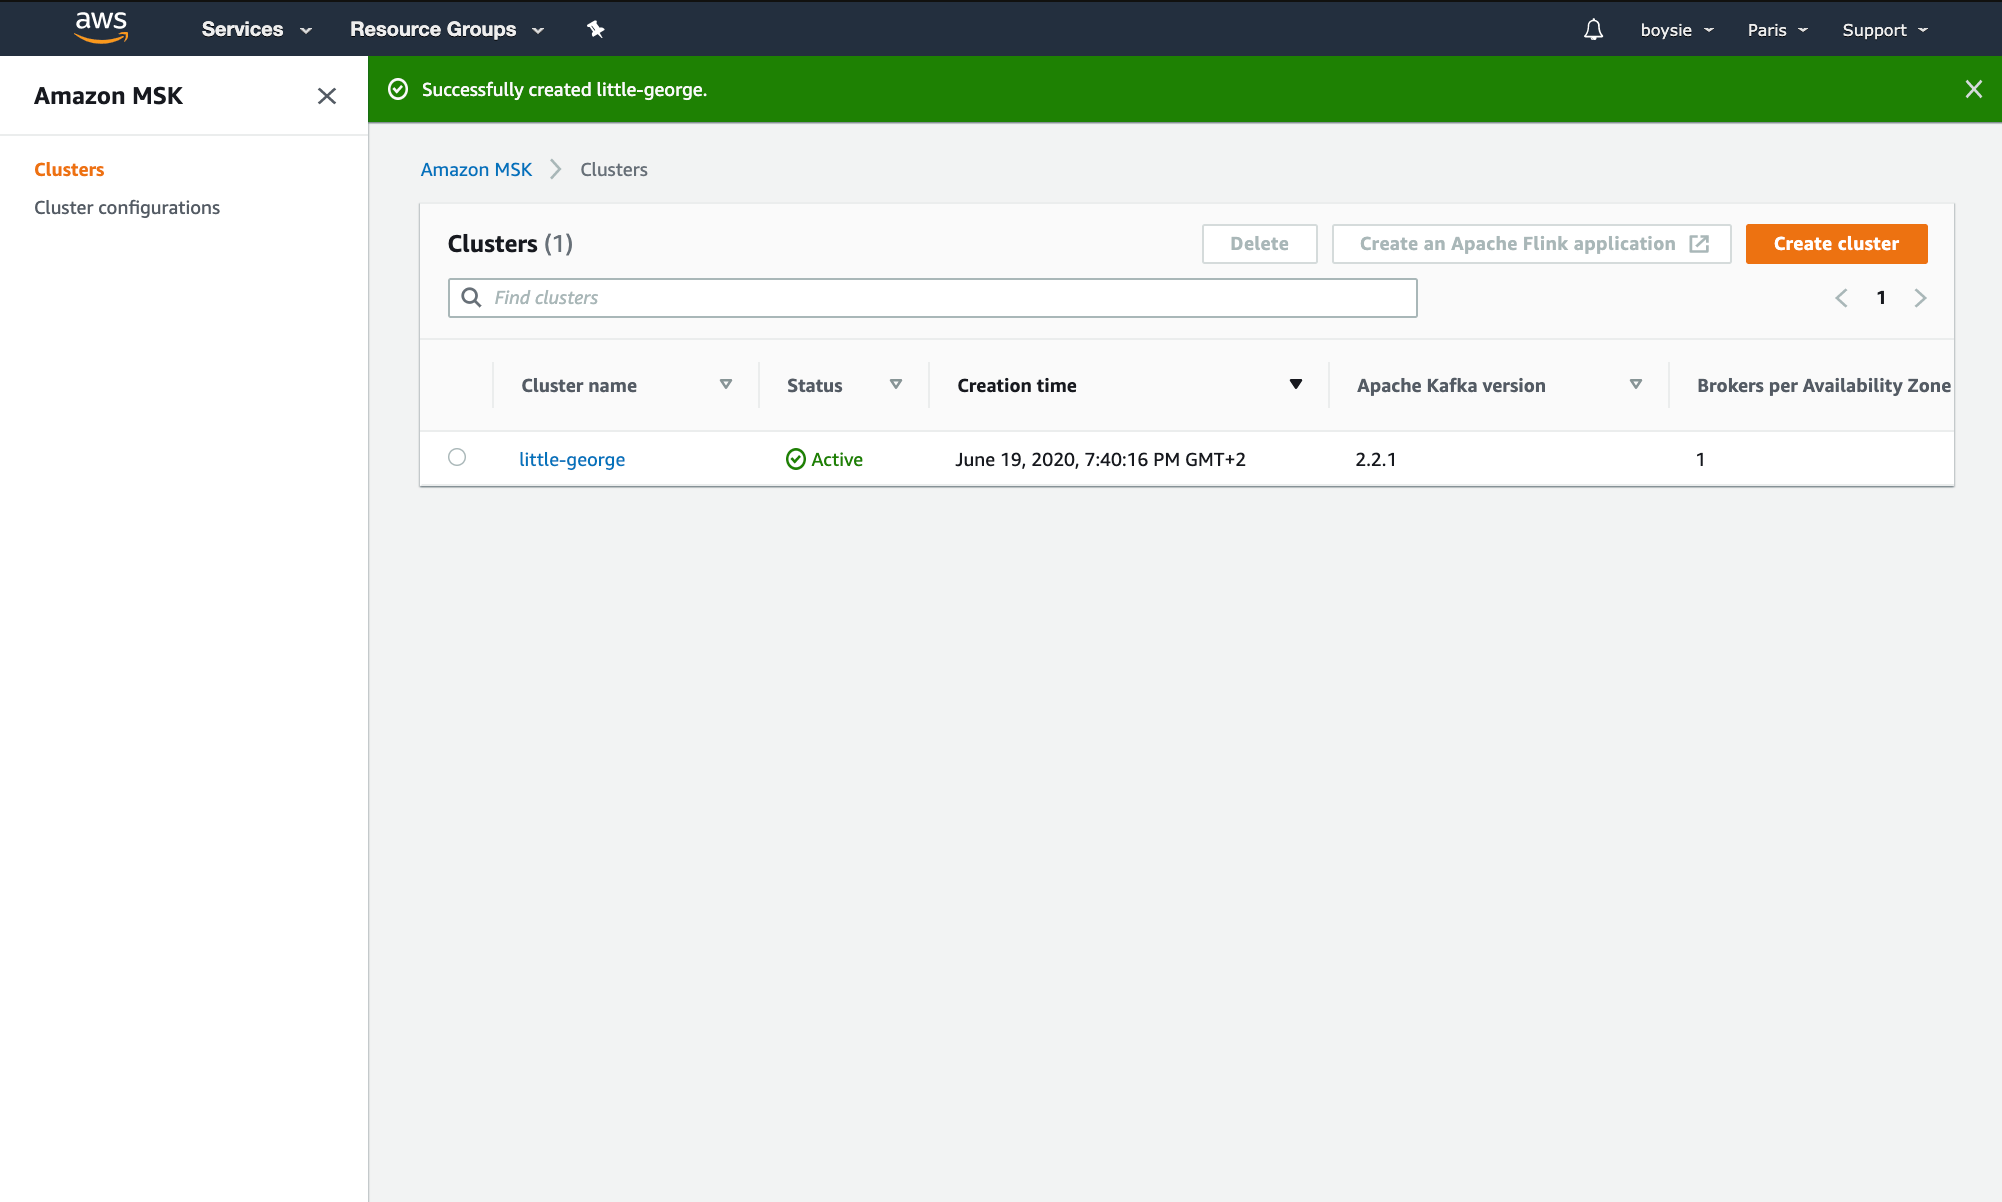
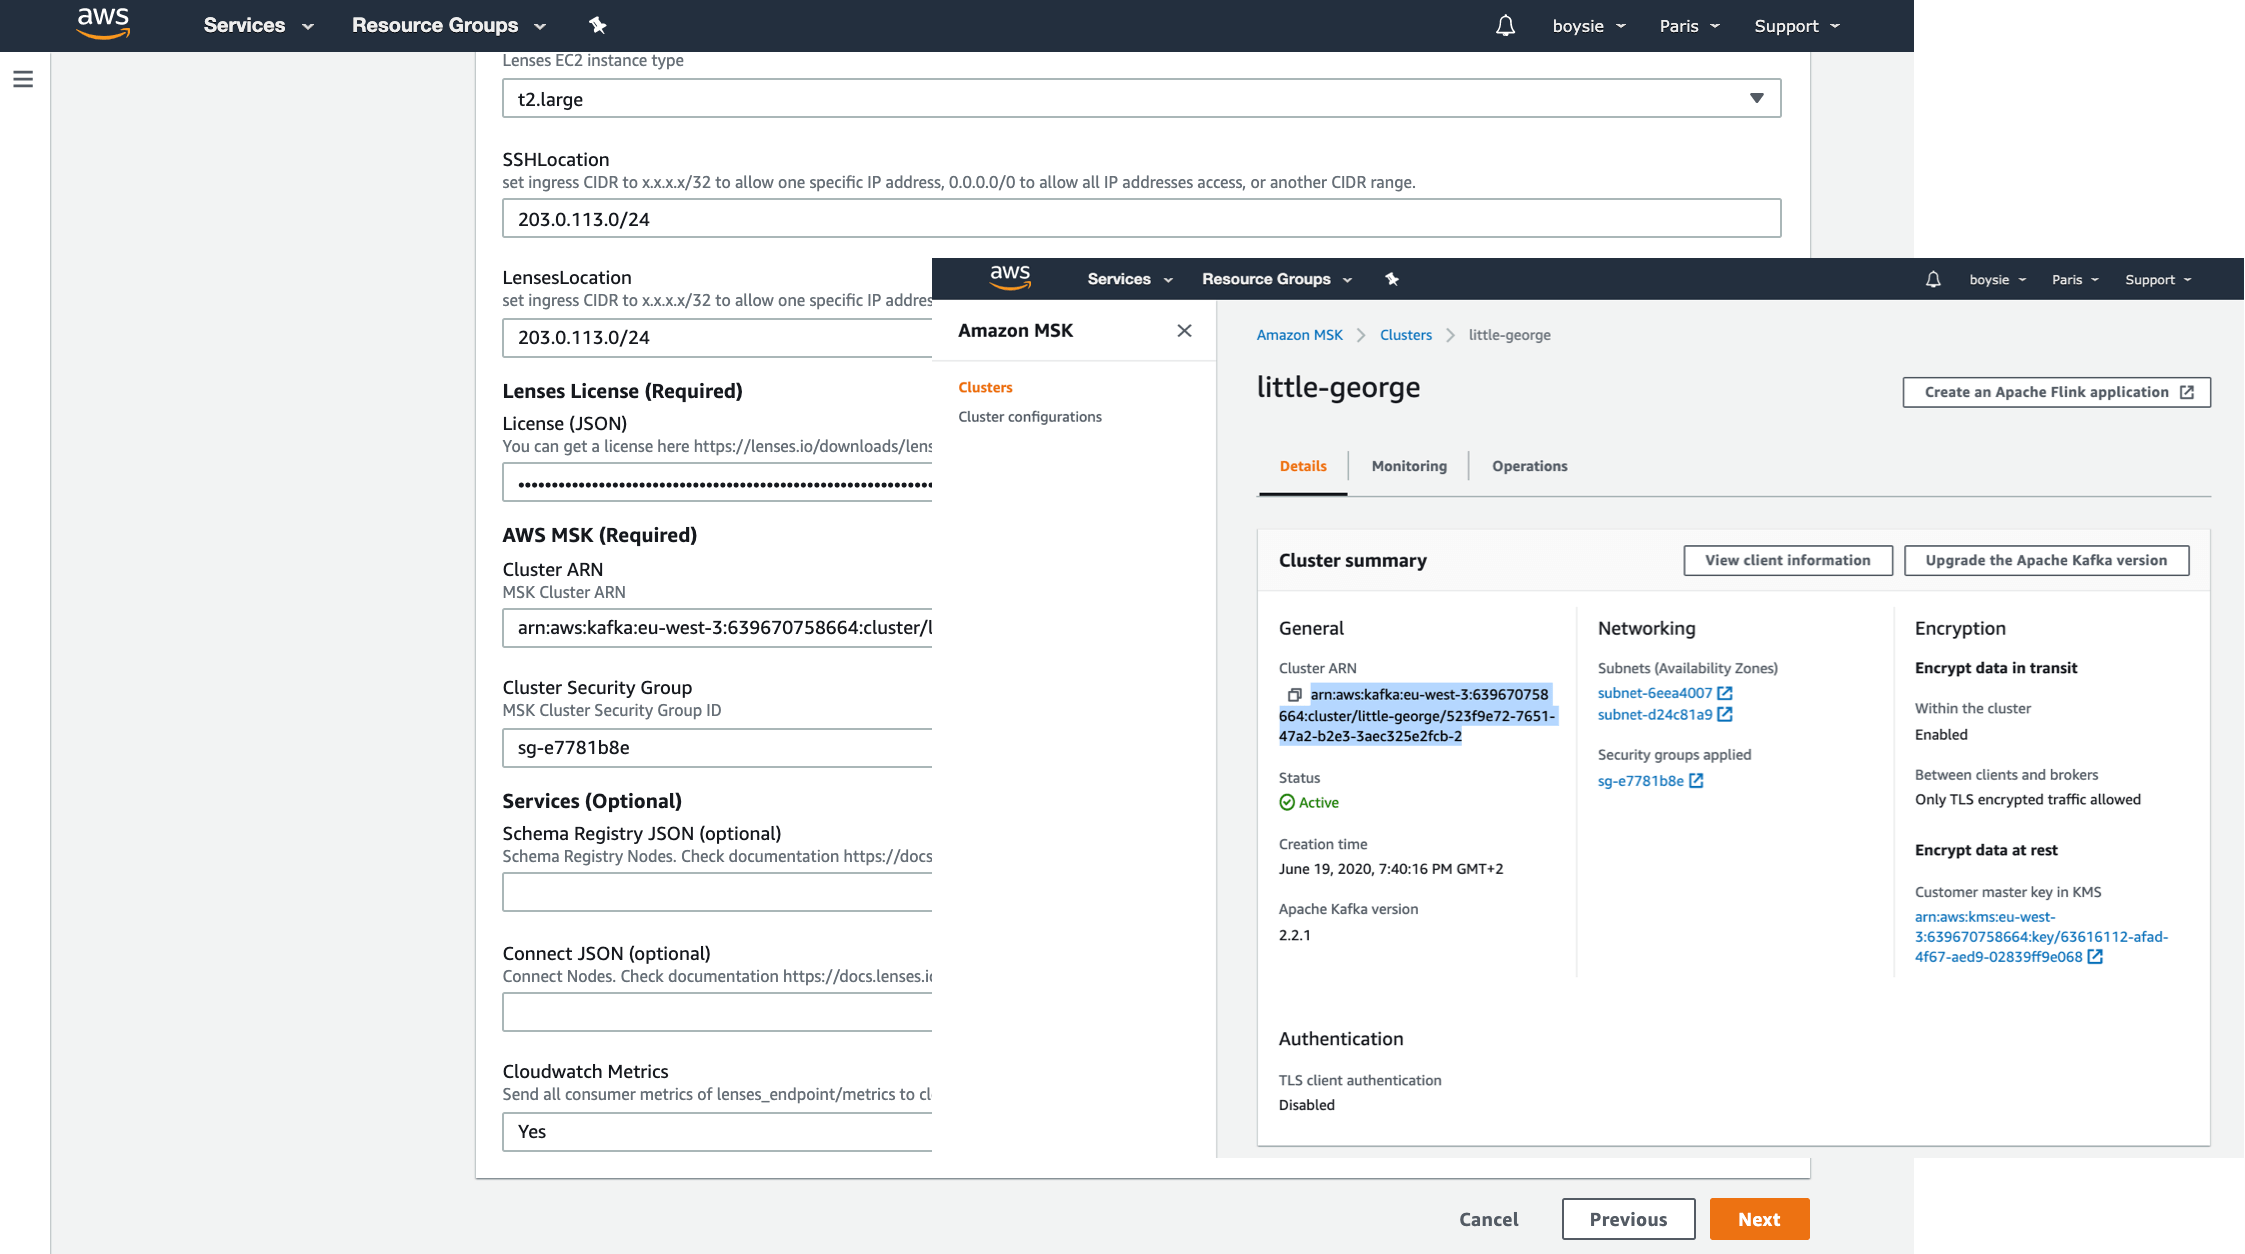
Ensure your Amazon MSK environment is up and running. Have the cluster details handy (such as the ARN handy), you’ll need it later.
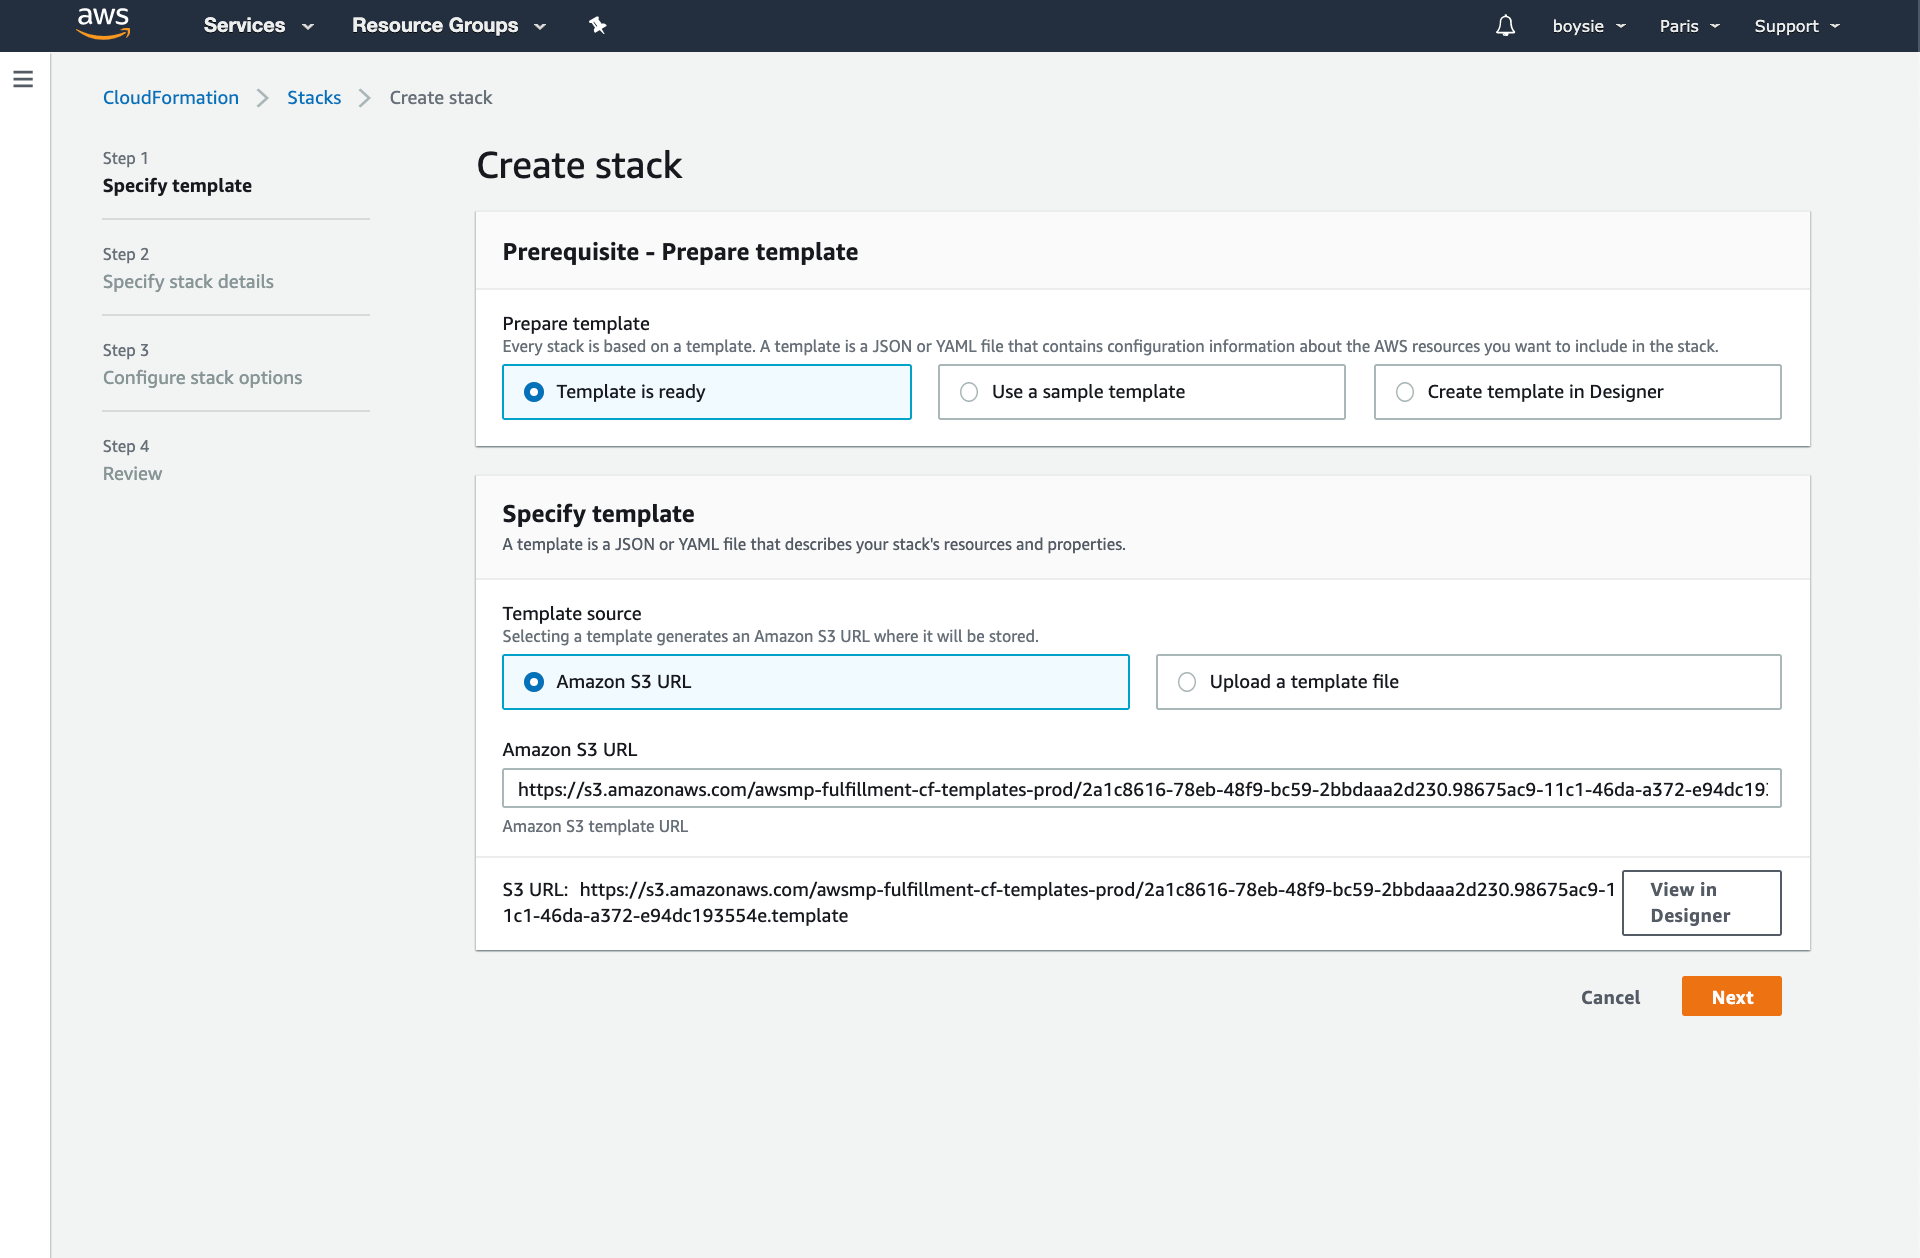
You’ll need an AWS account with permissions to deploy Cloudformation templates via the AWS marketplace.
For full details see our documentation
03.
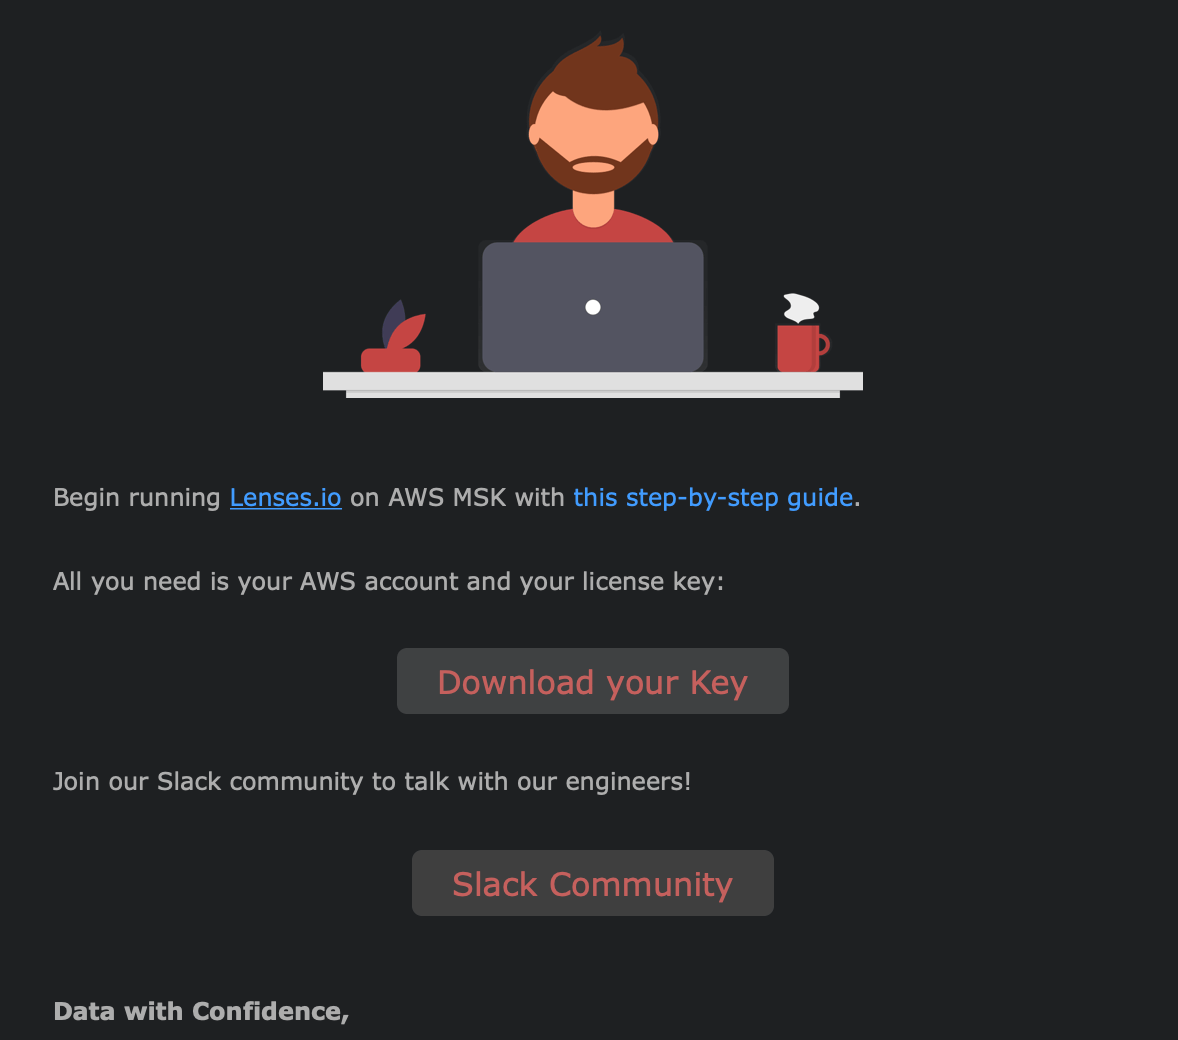
Get your license key
Download your Lenses.io license key. You will have received an email with a link. If not, be sure to sign up here.
04.
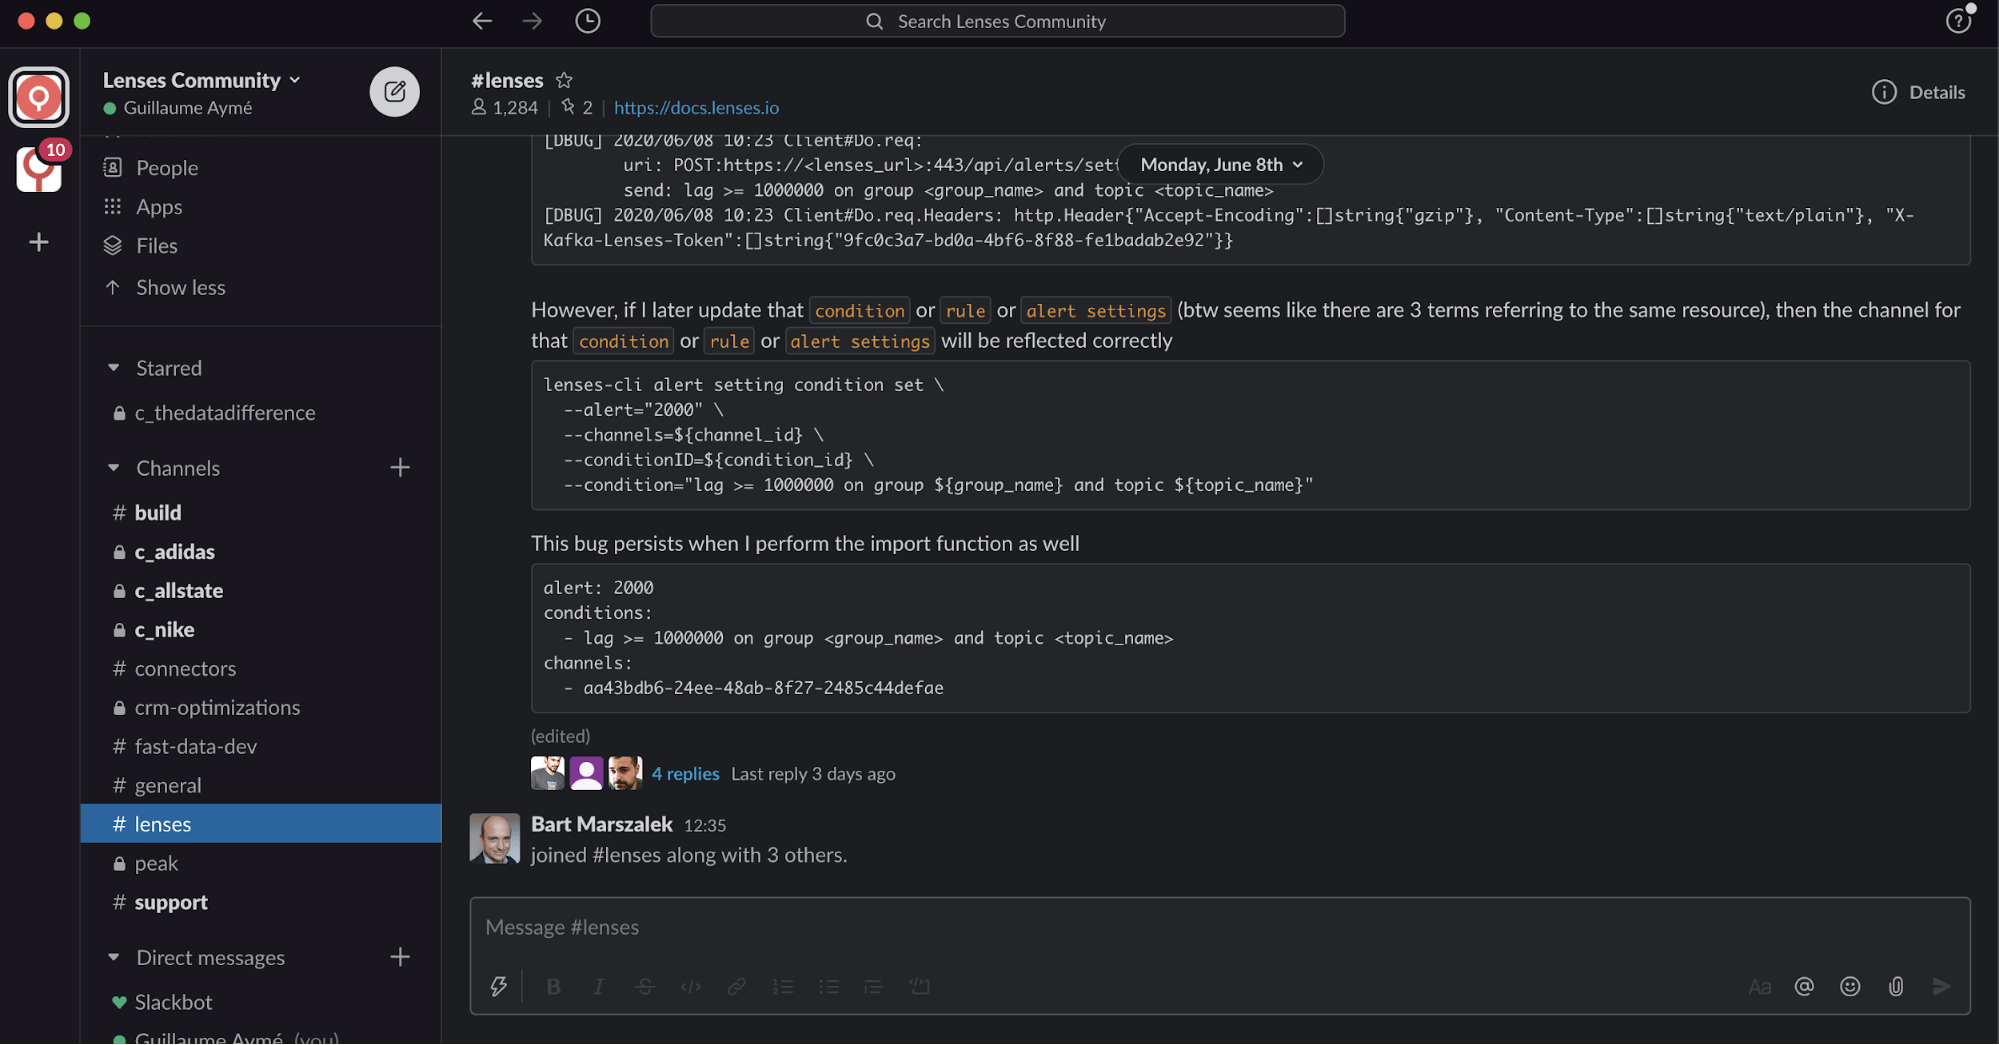
Connect to community Slack
In case you hit any bumps in the road, connect with the Lenses.io engineering team and thousands of other Apache Kafka community members via https://launchpass.com/lensesio
05.
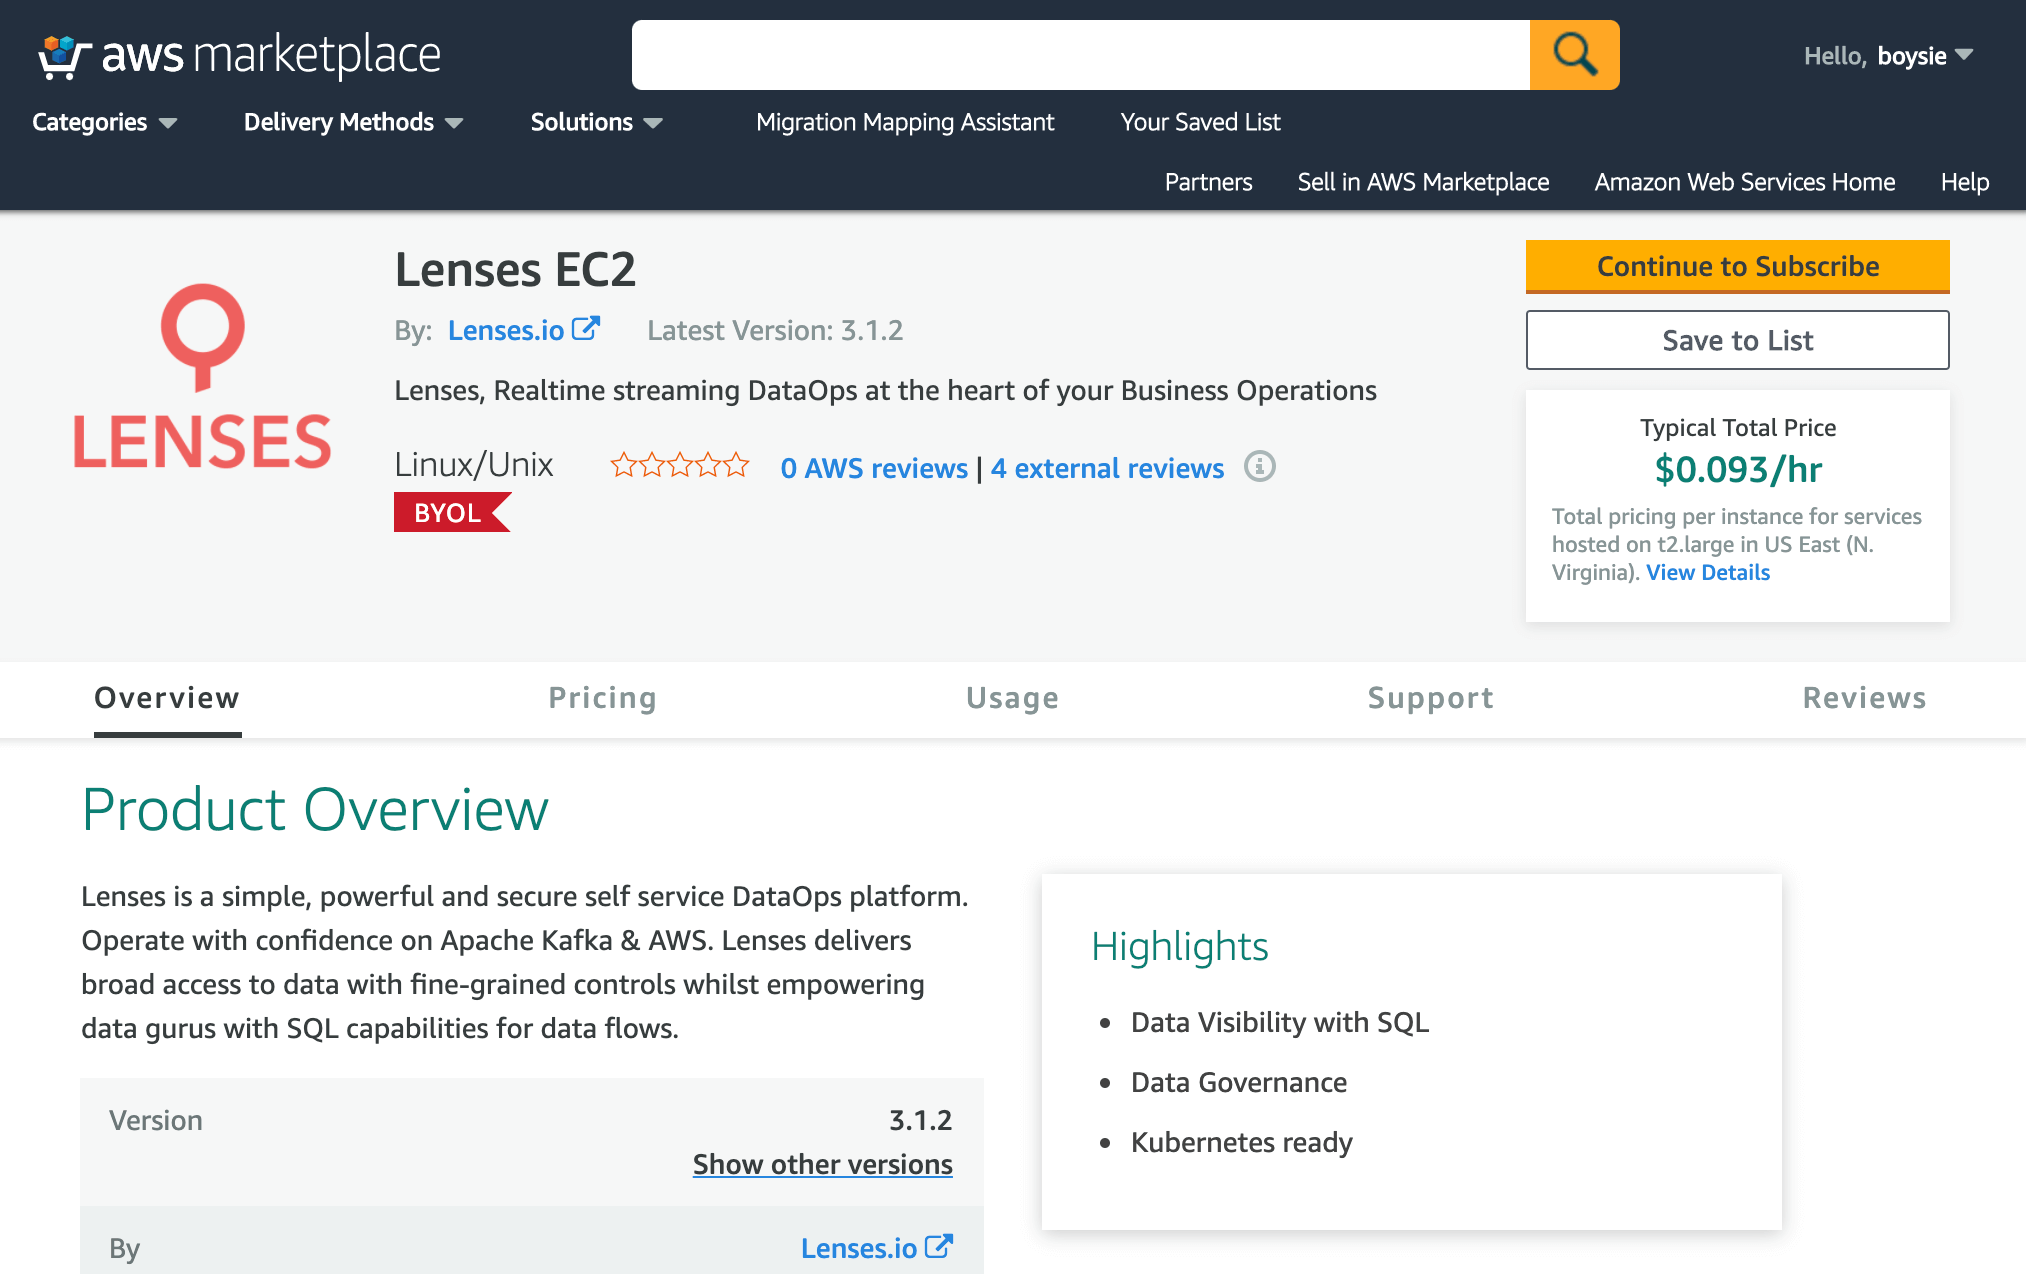
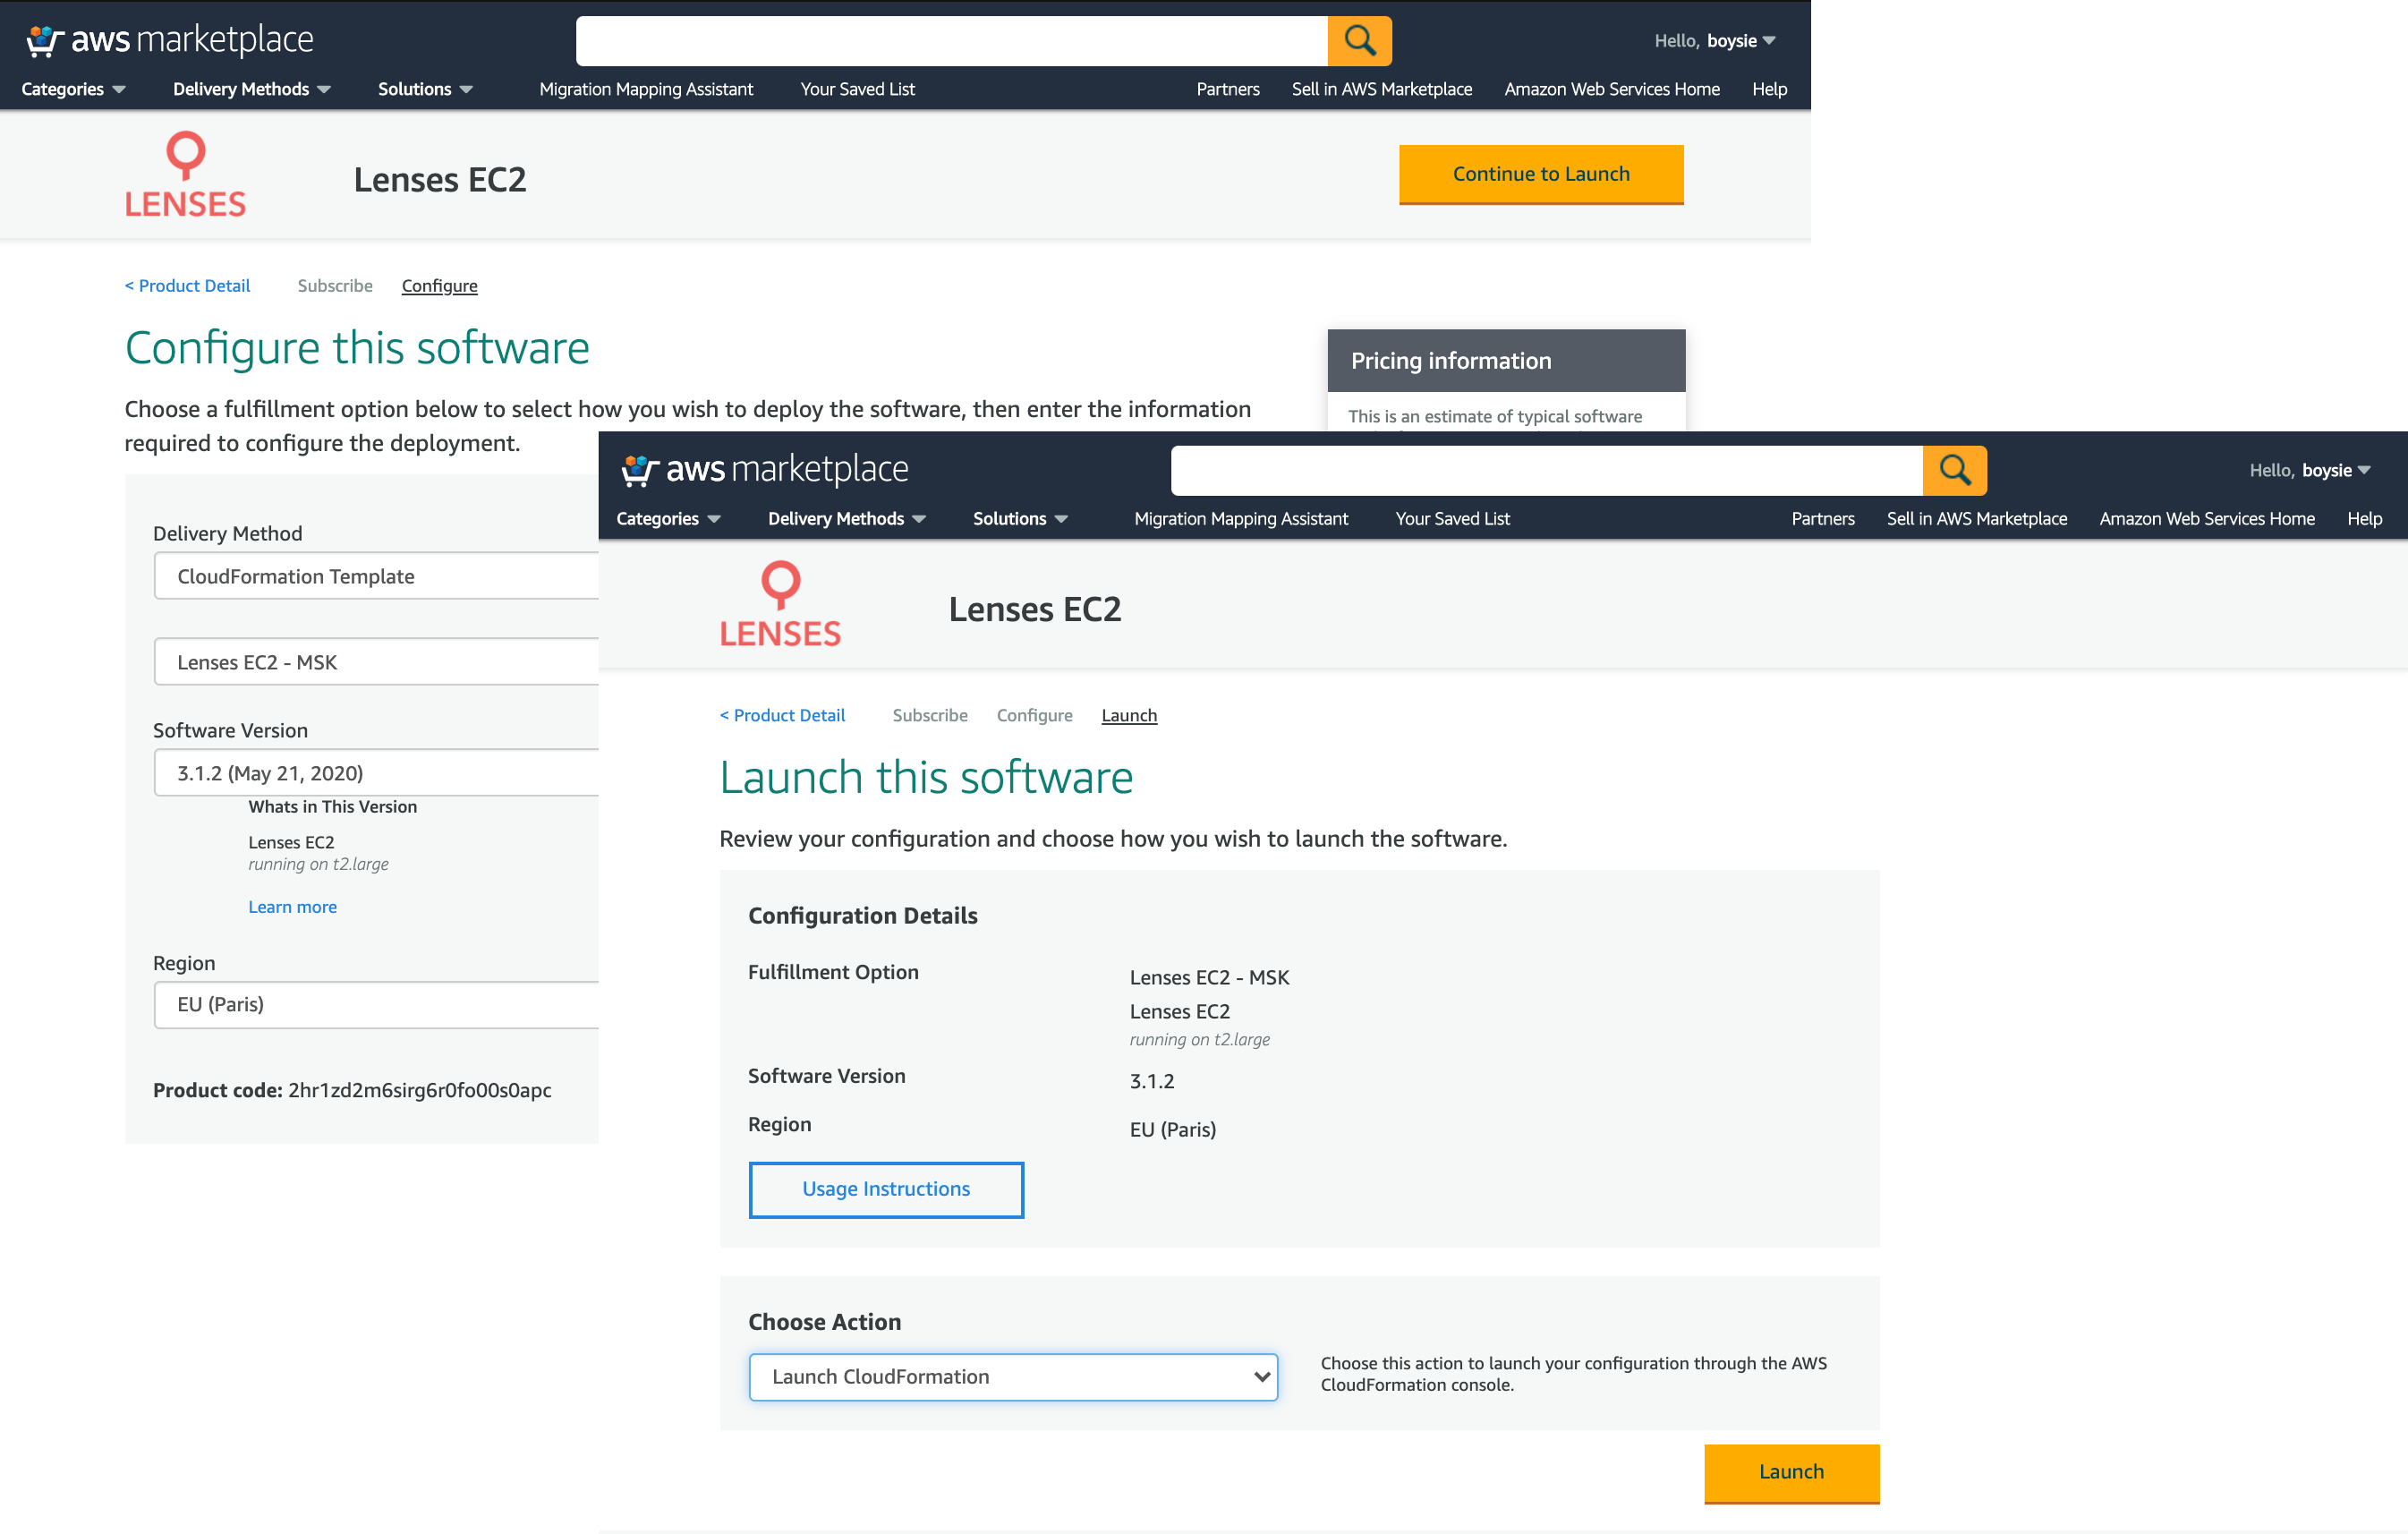
Access the AWS Marketplace
Subscribe to Lenses.io in the AWS Marketplace
and subscribe to the product.
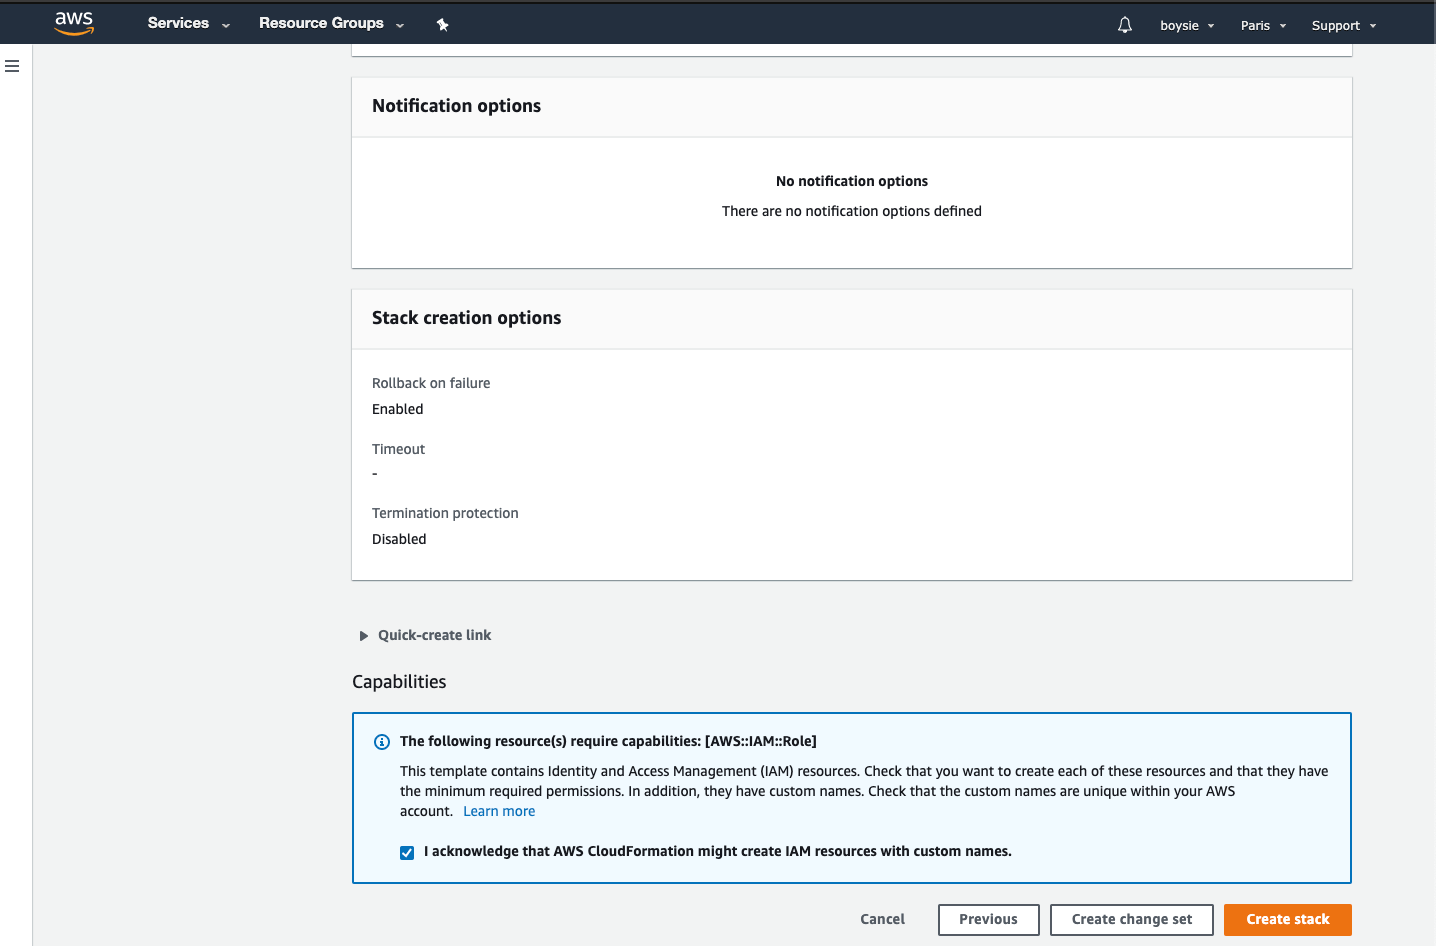
08.
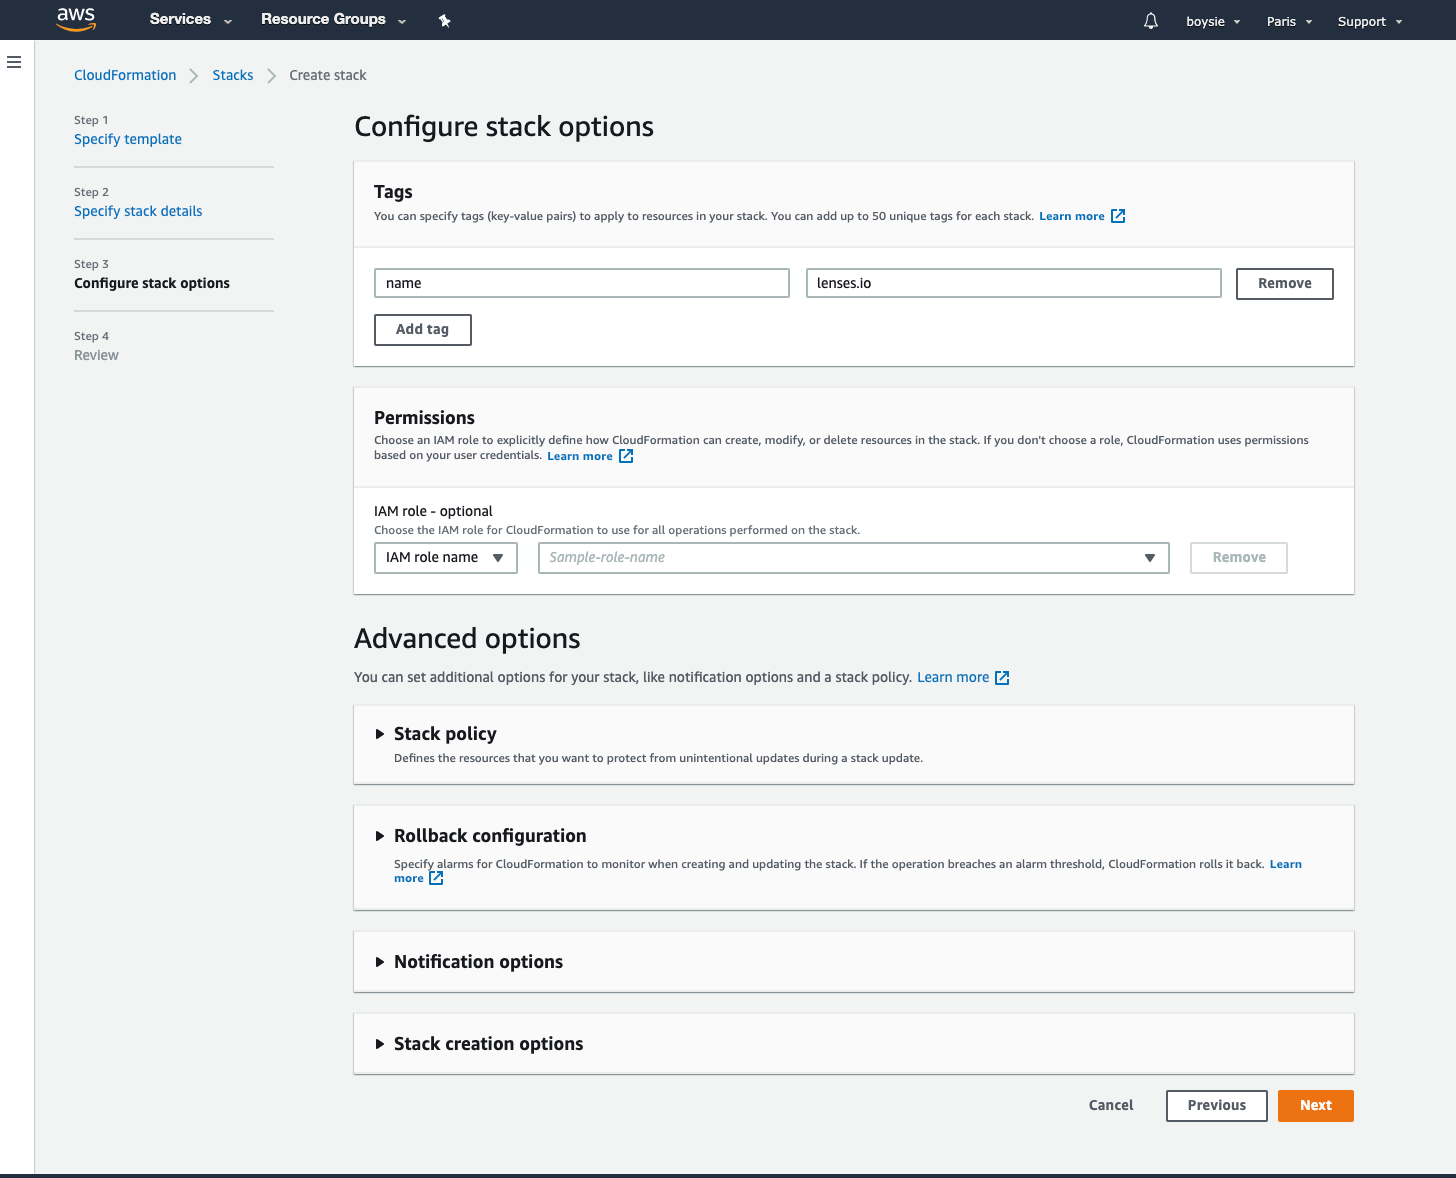
Configure stack details
- Choose a name for your Lenses.io deployment stack
- Configure the details of your VPC and Subnet to deploy to
- Select a t2.large instance.
- Set a CIDR range for SSHLocation and LensesLocation in accordance with your security policies
- Paste in the license key in the form of a JSON object directly into the Lenses License field.
- Copy the ARN and Security Group Applied from your MSK Cluster Summary page.
- Select to send the metrics to Cloudwatch.

Frequently Asked Questions
You need to enable Open Monitoring during the deployment of MSK or use the quick-create starter cluster with recommended settings (where Open Monitoring is enabled by default)
Speak to our engineering team on our community Slack channel.
Register here
MSK currently does not provide any means of collecting Zookeeper JMX metrics.
You will need to use the AWS EC2 Instance Connect CLI (the mssh command).
See here for more details.
As a root under the /opt/lenses directory
Let us help